Half-lap joint
Corner · Visible · Hand or power · Difficulty 2/5
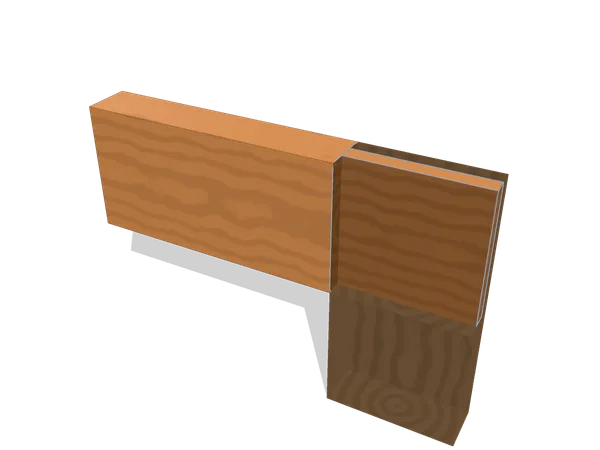
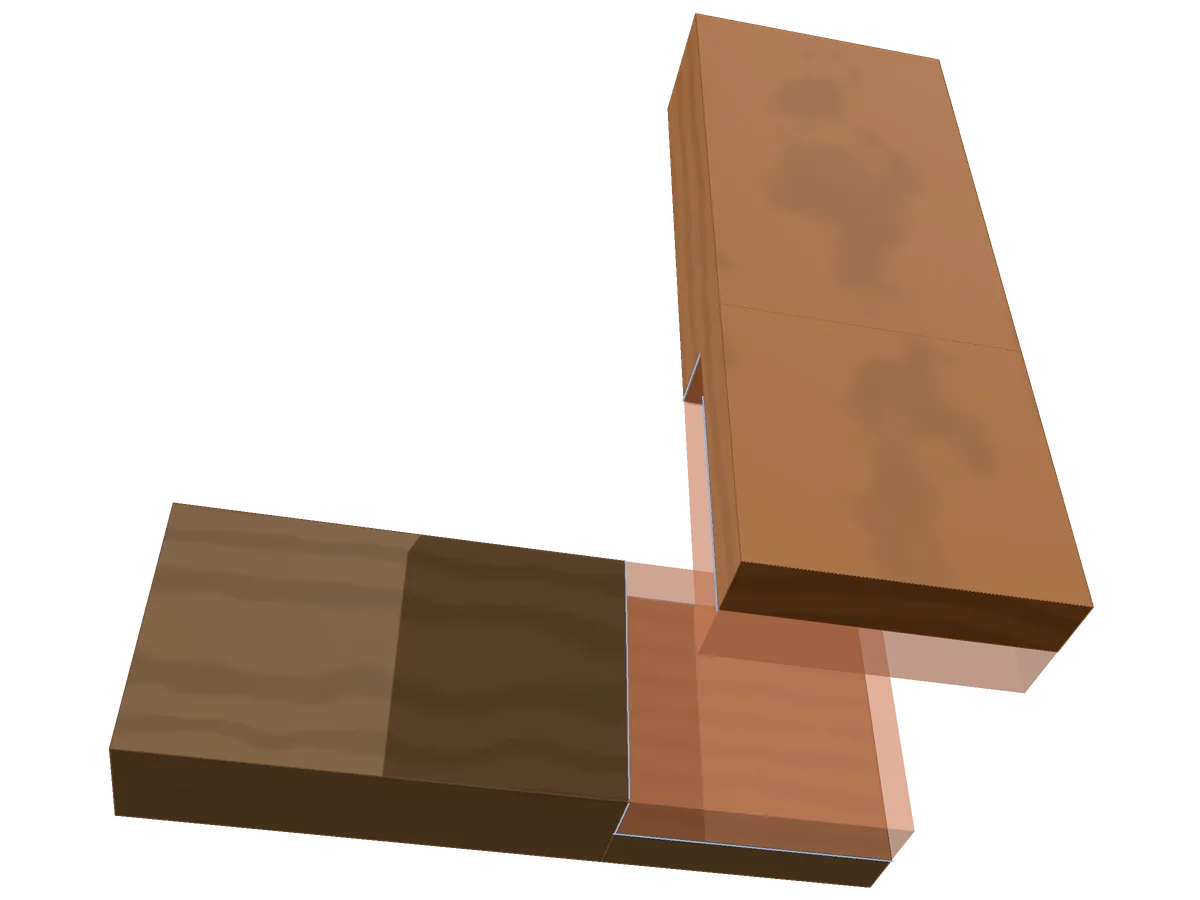
A half-lap joins two pieces by cutting a notch half the thickness deep in each, so the two halves overlap and finish level with one another. The wide face-to-face contact is long grain on long grain, and the sawn shoulders bear on the edges of the mating piece, which is what holds a frame square.
The 3D viewer stopped.
Mark out (1 of 4)
- Also called
- halving joint, end lap, corner lap
- Family
- Corner · face cut
- Joins
- two boards at a corner
- Typical use
- shop jigs and workbench stretchers; gate and screen frames; drawer dividers
- Holds against
- Racking, Shear (qualitative)
- Difficulty
- 2/5
- Tools
- marking gauge, marking knife, tenon saw, wide bevel-edge chisel, router plane
On this page
How the parts fit
Closed, the frame is one flat plane again: a thumb run across it should find the two faces level and no step at a shoulder.
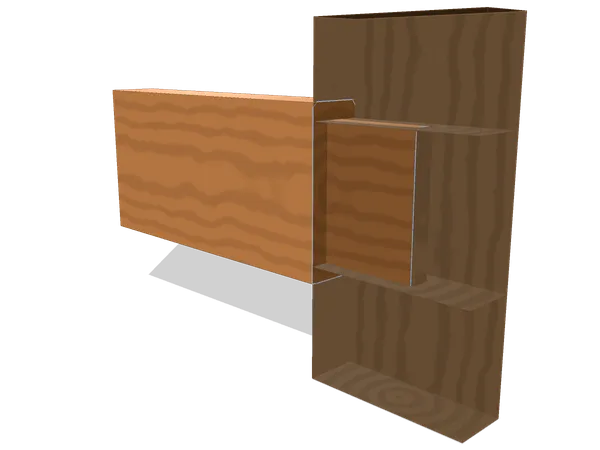
Two pieces cross or meet, and each has a notch cut where they overlap. Every notch takes half the thickness away, so the two remaining halves stack back into a single thickness. The width of each notch is the width of the piece that will sit in it, and its depth is set so the two faces finish level.
Three contacts carry the joint. The cut faces meet face to face; both are long grain, and this broad pairing is the surface glue holds. The sawn shoulders bear against the edges of the mating piece, one per piece on a corner lap and two on a cross lap, and they fix the angle: push a frame out of square and it cannot move without a shoulder crushing into the edge it bears on. The third contact, the end grain of a lapped piece meeting the far shoulder, does little and is often left with a hair of clearance.
The insertion axis is perpendicular to the faces. The pieces come together face to face and nothing about the geometry resists their being pulled straight apart again on that axis; glue, a screw or a peg does that work. In the plane of the frame the notch walls block movement in both directions, which is where the joint earns its keep.
“Half” is only true when both pieces are the same thickness. When they are not, set each depth so the surface that shows finishes flush, and let the difference fall on the back.
When to use a half-lap (and when not to)
It is the fast, honest frame joint: shop jigs, workbench stretchers, garden gates, screen frames, drawer dividers, grids. It cuts with one gauge setting and one saw depth, repeats accurately across many identical parts, and can be checked with a straightedge at every stage, which is why it is a good first joint to learn.
Continuity across the face, with no overlap showing, rules out a half-lap wherever a cabinet door needs it: a mortise and tenon belongs there instead. Avoid it on thin stock, since halving already-thin pieces leaves both halves fragile at the shoulder. And avoid it where the load pulls one face away from the other, because on that axis the joint has only its glue.
Layout and cutting, step by step
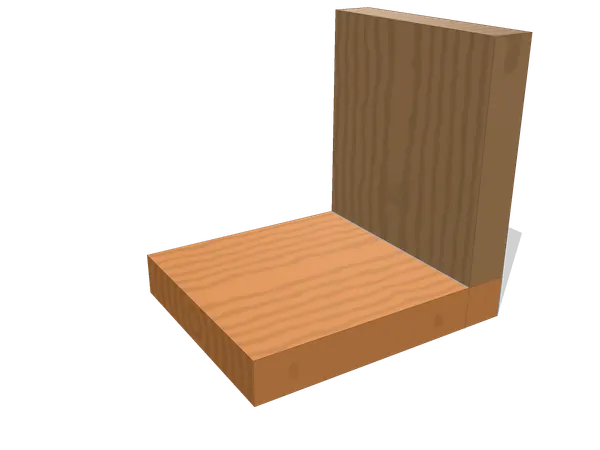
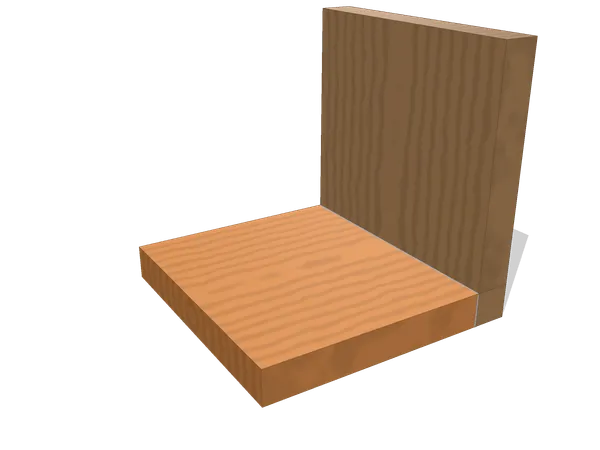
Both pieces sit marked and uncut: a gauge line down each edge, and two knife lines squared across the face to meet it.
- Mill both pieces to the same thickness and width, and mark a face side on each. Everything is gauged from those marked faces.
- Set a marking gauge to half the stock thickness and run it around both edges of each piece, always from the face side. Set it once and leave it; an error in the setting then repeats identically on both parts and cancels when they meet.
- Put the pieces in position and knife the width of each notch straight from the mating piece rather than measuring it. Square those knife lines across the face and down both edges to meet the gauge line.
- Widen each knife line into a shallow wall on the waste side, so the saw has a groove to start in and cannot wander over the line.
- Saw the shoulders down to the gauge line, keeping the kerf inside the waste.
- Take the waste out. On an end lap, saw down the cheek from the end grain to meet the shoulder cut. On a cross lap, saw a row of kerfs down to the gauge line, break the fingers out with a chisel, then pare the floor.
- Flatten each floor to the gauge line with a router plane, which is the simplest way to get both notches to the same depth. Check across the floor with a straightedge.
- Test-fit. The pieces should slide together under hand pressure, both faces flush and both shoulders tight, with no rock when you press each corner in turn.
Common mistakes
Check the whole joint dry before glue: close it by hand, and look for daylight where each shoulder meets its edge.
Gauging one piece from the face side and the other from the back is the mistake that produces a joint with a step across it. One setting, one reference face, every time.
Read the dry fit before reaching for a chisel. A joint that closes along its length while a face stands proud has two shallow floors; take a shaving off each, not all of it off one, or the pieces end up different thicknesses. A piece that drops in easily while a shoulder gaps had that notch sawn wide, and gluing a thin shim to the shoulder beats recutting. An assembly that refuses to come square has a shoulder out of square with the edge, and the same error waits in every identical part still to be cut. A joint that rocks has a floor high in the middle, which a straightedge finds in a second.
A floor cut past the gauge line cannot be repaired locally; the piece sits below flush and only planing the whole assembly hides it, so creep down to the line. Forcing a cross lap that is a whisker narrow splits the wood out of the notch’s inside corner, where the short grain is weakest. And clamp the right way: pressure has to land on the overlapping faces, because a clamp pulling across the frame will never close a shoulder gap.
Half-lap joint vs bridle, mortise-and-tenon and butt joints
Use a half-lap when a frame needs a fast, honest joint with an overlap on both faces; a bridle, mortise and tenon or butt joint suits a corner watched as it is cut, hidden entirely, or simply squared and fastened.
A bridle joint solves the same corner without an overlap crossing either face. The end of one piece is a full-thickness tenon and the other is slotted to receive it, so the joint reads on the edges instead. It is more work to cut and to pare, and the slot walls have short grain, but the members look continuous.
A mortise and tenon hides completely, leaving both faces unbroken, which is why it belongs on doors and tables. It costs more layout, more cutting, and a mortise you cannot see into while you work. Where the frame is a jig, a gate or a stretcher, that extra care buys nothing.
A butt joint’s T-butt case removes no material to form it: a squared end meets the face of another piece. Nearly all of the contact is end grain on long grain, so it leans on screws, dowels or a plate. A half-lap is one extra setup and converts that contact into a long-grain glue surface with shoulders.
Variants
Cross lap. Two pieces cross away from their ends, and each takes a notch in its middle. Both shoulders bear on both sides, so the joint locks the angle firmly in the plane of the frame.
T-lap. The end of one piece laps the middle of another, the usual case for a stretcher meeting a rail. One piece keeps two shoulders, the other keeps one.
Dovetailed lap. The lapped end is cut as a dovetail and its housing is angled to match, so the joint also resists being pulled apart in the plane of the boards. Traditional for a top rail let into the side of a carcase.
Frequently asked questions
Does the notch have to be exactly half the thickness?
Only if both pieces are the same thickness and you want both faces flush. What matters more is setting the gauge once and marking each notch from its own face side, because then any error in the setting is identical on both parts and cancels out. Where the pieces differ in thickness, pick depths that put the face you care about flush.
Why does a half-lap hold a frame square?
Each piece is left with sawn shoulders that bear against the edges of the other piece, so the frame cannot change angle without those shoulders crushing into those edges. The wide contact between the two cut faces adds to it: both surfaces are long grain, which is the pairing a glued joint holds best.
Can you cut a half-lap on a table saw?
Yes. Use a dado stack, or nibble across the notch with a standard blade and a mitre gauge, with a stop block so every notch lands in the same place. Set the blade height from a test cut in offcuts and check the fit before you touch the real pieces.
Sources and revision history
- Fairham, Woodwork Joints (The Woodworker Series, revised edition), the halving joints chapter — public domain
- Wikipedia: Lap joint (terminology and variants)
Revision history
- Published
- Last updated
Related joints
All wood joints
Every joint on the site, live and planned, grouped by how the pieces meet.
Bridle joint
An open mortise takes a full-width tenon, so the joint is cut entirely from the outside.
Mortise and tenon joint
The tenon enters a cut pocket; its shoulders land on the face and fix the angle.
Dovetail joint
Wedge-shaped tails drop between pins so the corner locks mechanically along one axis, not by glue alone.
Box joint
Square fingers alternate across the corner, every one cut to the same width.