Sliding dovetail joint
T-intersection · Hidden · Hand or power · Difficulty 4/5
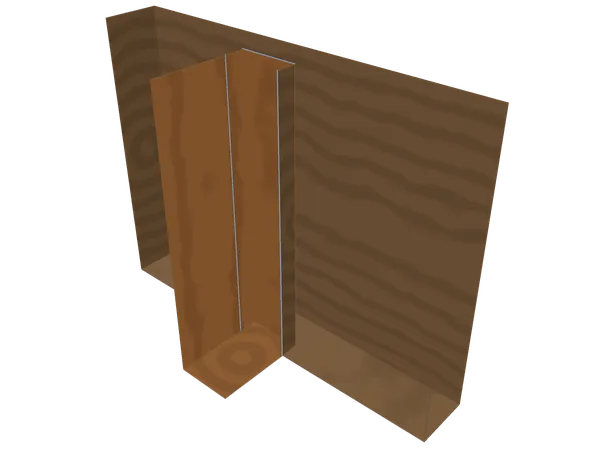
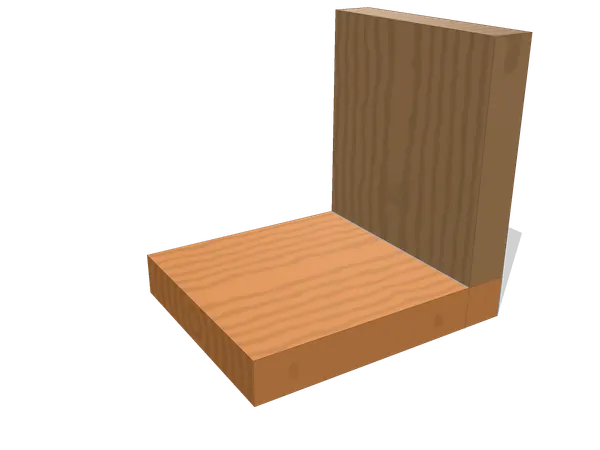
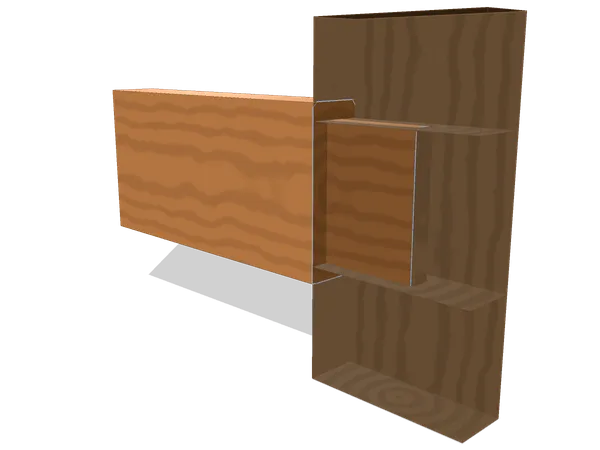
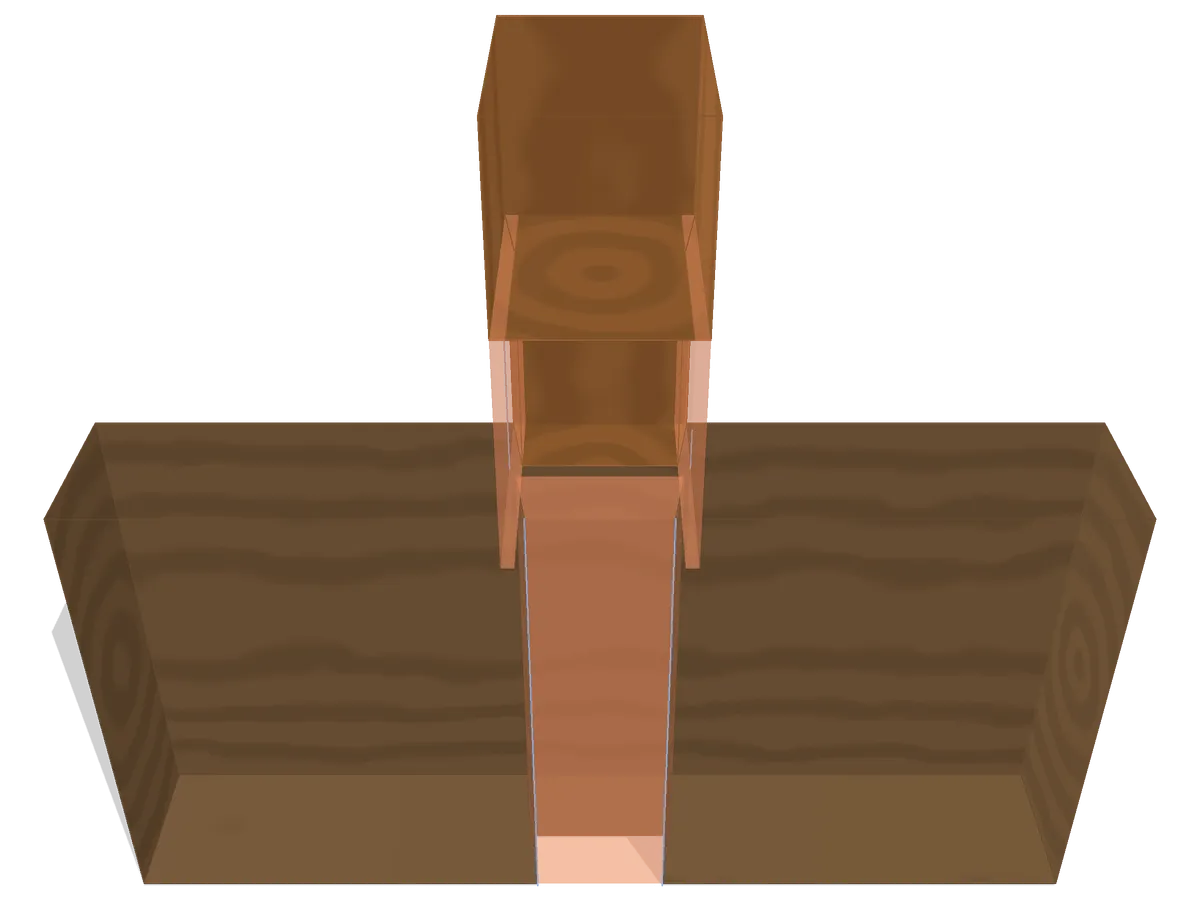
A sliding dovetail runs a tapered tail along the end of one board and a matching flared housing across the face of another, so the board goes in from one end and slides home. The flare traps the joint on every axis but one, which is the axis it was assembled on.
The 3D viewer stopped.
Mark out (1 of 4)
- Also called
- French dovetail, dovetail housing
- Family
- T-intersection · socket
- Joins
- the end of one piece into the face or edge of another
- Typical use
- fixed shelves in a carcase; drawer fronts let into sides; partitions and dividers in casework
- Holds against
- Pull-apart, Racking (qualitative)
- Difficulty
- 4/5
- Tools
- marking gauge, sliding bevel, router with a dovetail cutter, dovetail saw, router plane
On this page
How the parts fit
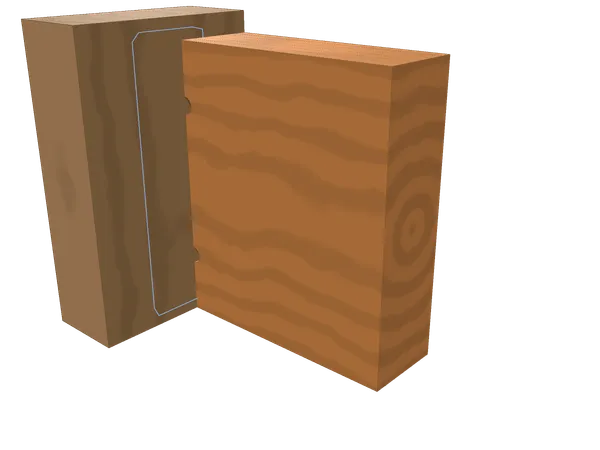
At the end of its travel the shelf is trapped by the flare on both cheeks: it cannot be lifted out of the panel on any axis, only drawn back the way it came.
Every other joint on this site closes by moving straight together or straight apart; this one closes by sliding. A tapered tail worked on the end of one board rides along a matching flared housing cut across the face of another, entering at one end and travelling the housing’s whole length to seat. Nothing about that motion is optional: the same flare that lets the tail in at one end stops it coming out sideways, top, or bottom once it has travelled home.
The flare is cut to a slope of 1 in 6 by default, narrower at the housing’s mouth than at its floor. The tail is worked to the same angle from the same setting, so the two parts are never measured against each other, only against one bevel, set once and carried to both. A housing 8 mm5/16 in deep leaves real wall either side of the flare and real material beneath the trench floor, which keeps the joint from being the weak point in the panel it sits in.
Because the fit only closes along one axis, a mismatch anywhere along the run shows up as a stop rather than a wobble: the shelf goes in cleanly until it reaches the tight spot, then stops. That is a different fault from a dado’s rock or a mortise’s gap, and it is the one this joint’s layout is built around catching early.
When to use a sliding dovetail joint (and when not to)
Call on a sliding dovetail wherever a shelf needs the three-sided grip a dado gives, plus a lock against being pulled straight back out: fixed shelves leaned on or loaded unevenly, drawer fronts let into a case from the side, partitions that must resist racking as much as downward load. The housing can also be stopped short of a front edge, hiding the joint behind a drawer front or a case side.
When a wide solid panel will move seasonally across its own width, a long housing cut across that movement can bind or split as the wood works against a flare it was never designed to flex. It also asks for assembly from one end, so it has no place where a shelf must go together from the front with both ends already fixed. And like any trench, it needs stock thick enough to leave real material beneath it once the flare is cut.
Layout and cutting, step by step
The housing is squared across the panel at the shelf’s position, and its flare gauged from the same slope used to set the tail on the shelf’s end. Both parts carry the angle, so the two are marked from one bevel setting rather than measured independently.
- Set a sliding bevel to the joint’s own slope and mark the housing’s two side lines across the panel’s face, both leaning in from the mouth toward the floor.
- Square a line across the panel at the housing’s own depth, and check both flare lines meet it at matching points on either side.
- Cut the housing to depth with a router and a dovetail cutter, or saw and pare it by hand, working the flared walls in from the mouth rather than undercutting them afterwards.
- Set the same sliding bevel against the shelf’s own end and mark the tail’s two cheeks, gauging from the same setting the housing was cut to.
- Saw the shoulders that free the tail from the shelf’s full width, working down each cheek to leave the tapered tail standing proud.
- Offer the tail into the housing’s near end and slide it partway in by hand, checking it enters cleanly before committing to the full cut.
- Work any binding point back with a shoulder plane or chisel, always removing material from the tail rather than opening the housing, and re-test after every pass.
Common mistakes
The shelf travels the housing’s own length to seat, entering at one end rather than dropping in from above. A tail a shaving fat, or a housing that narrows anywhere along its run, stops the shelf halfway rather than refusing it at the start.
Cutting the flare to two different settings on the sliding bevel undoes everything else: even a single degree of drift between the housing and the tail leaves a joint that starts easily and binds harder the further it travels, often mistaken for a fault in the wood rather than the setting. Recheck the bevel against its own mark before cutting the second half of any pair.
A housing that narrows partway along its run (a wandering router pass, an uneven hand cut) produces the same jamming fault from the trench’s side, and it is harder to diagnose because the mouth can measure correctly at both ends while still pinching in the middle. Run a straightedge down both flare walls before fitting anything to them. And paring the housing wider to free a binding tail, rather than paring the tail itself, is the fix that looks fastest and costs the most: once the flare is opened, nothing put back narrows it again.
Sliding dovetail joint vs dado, dovetail and mortise-and-tenon joints
Pick a sliding dovetail when a shelf must lock against being pulled straight back out, not just supported from below; a dado, through dovetail or mortise and tenon suits a plain shelf, a corner closed by insertion, or a frame set at an angle.
A dado holds a shelf on three flat sides but locks against nothing: lift straight up and it comes free. A sliding dovetail cuts the same cross-grain trench and adds a taper to both walls, trading a second cut on the shelf’s end for a joint that resists being pulled straight back out, which a plain dado cannot do at all.
A through dovetail cuts the same wedge-shaped tail this joint does, but drives it straight down between pins rather than sliding it the length of a housing. The tail shape is the same idea turned ninety degrees, closing by insertion instead of travel. Both trap the joint mechanically; only one of them has a direction you can watch it travel in.
A mortise and tenon locates two parts with a tenon dropped into a pocket rather than a tail slid the length of a run, and it depends on glue and shoulder contact rather than a flare to resist being pulled apart. Where a mortise and tenon fixes an angle between two parts, a sliding dovetail fixes a shelf’s position along one.
Variants
Tapered sliding dovetail. The tail narrows very slightly toward the end that seats last, so the fit tightens gradually across the travel instead of binding uniformly the moment it enters: useful on a longer run where a dead-parallel taper is hard to hold by hand.
Stopped sliding dovetail. The housing ends short of the panel’s front edge, so no line shows once the shelf is fitted, the form usually meant by “French dovetail,” common in better drawer work.
Through sliding dovetail. The housing runs the panel’s full depth, open at both ends, with nothing hidden: the plainest version, and the one this route models.
Frequently asked questions
What is a French dovetail?
Another name for a stopped sliding dovetail, most often heard in drawer work: the housing stops short of the front edge, so the joint is invisible once the drawer front is fitted. The mechanics are identical to any other sliding dovetail.
Why taper a sliding dovetail?
A slight taper along the run narrows the tail toward the end that seats last, so the fit tightens gradually as the shelf travels rather than binding the moment it enters. Without a taper, the whole run has to be cut to one exact width by hand.
How deep should the housing be?
Deep enough to leave real wall either side of the flare and real material under the trench floor: a shallow housing in thin stock is the usual reason a sliding dovetail ends up doing less work than its own flare shape suggests it should.
Why does the shelf jam halfway?
A tail a shaving too fat, or a housing that narrows anywhere along its own run, stops the shelf partway rather than refusing it outright. Wherever it jams is exactly where the tight spot is: pare that point, not the whole tail.
Sources and revision history
- Fairham, Woodwork Joints (The Woodworker Series, revised edition), the dovetail grooving chapter (public domain)
- Wikipedia: Dovetail joint (the sliding dovetail, and the French dovetail term)
- Noyes, Handwork in Wood (1910), No. 28 "A dovetail dado or gain" (public domain)
Revision history
- Published
- Last updated
Related joints
All wood joints
Every joint on the site, live and planned, grouped by how the pieces meet.
Dado joint
A flat-bottomed trench across the grain houses the end of a shelf on three sides.
Dovetail joint
Wedge-shaped tails drop between pins so the corner locks mechanically along one axis, not by glue alone.
Mortise and tenon joint
The tenon enters a cut pocket; its shoulders land on the face and fix the angle.
Pocket-hole joint
Screws leave a bored pocket at a shallow angle and bite into the stile through the rail end.