Splined miter joint
Corner · Visible · Hand or power · Difficulty 3/5
A splined miter joint cuts a slot across a finished mitre and glues a thin strip of wood into the channel it makes. Because the spline’s grain runs from one board to the other rather than along the mitre, it turns two mostly end-grain faces into a long-grain glue joint and stops the two halves sliding along the line.
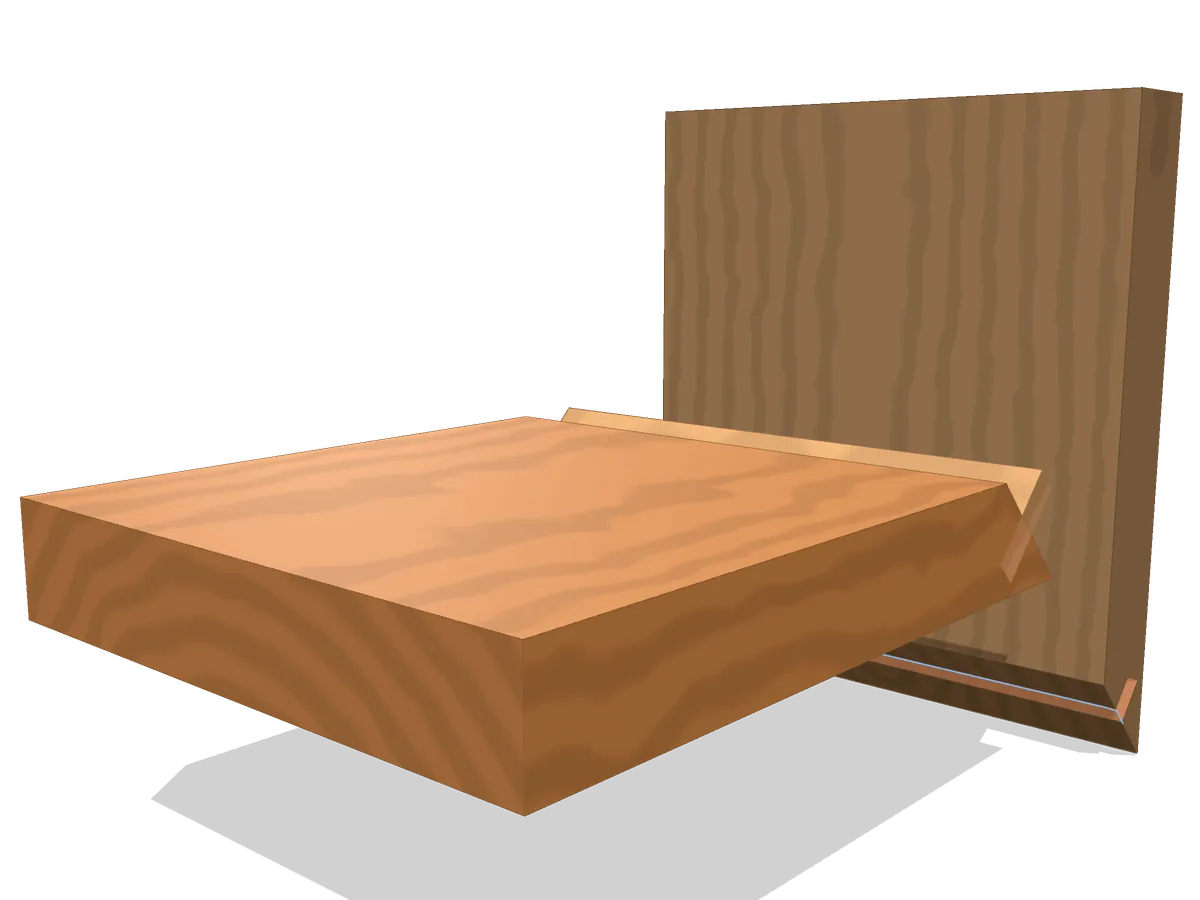
The 3D viewer stopped.
Mark out (1 of 4)
- Also called
- keyed miter, slip-feather miter, spline miter
- Family
- Corner · socket
- Joins
- two boards at a corner
- Typical use
- boxes and small casework with mitred corners; picture frames that must stay in line; mitred plinths and returns
- Holds against
- Shear, Pull-apart (qualitative)
- Difficulty
- 3/5
- Tools
- mitre square or sliding bevel, tenon saw, slotting jig or table saw, block plane, wide bevel-edge chisel
On this page
How the parts fit
Grain runs across the corner now, not along it: the spline crosses the glue line from one board to the other, turning two end-grain faces into a pair of long-grain glue joints.
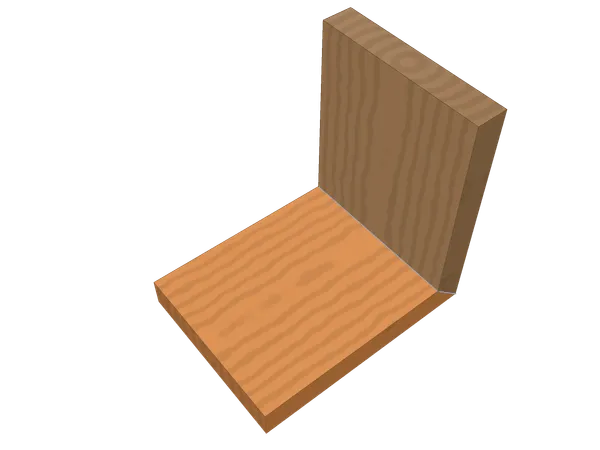
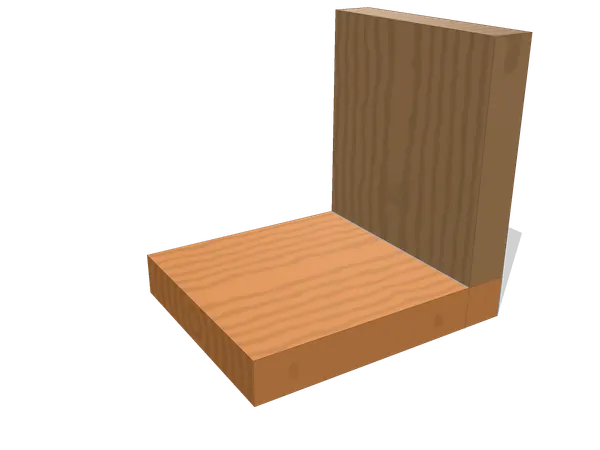
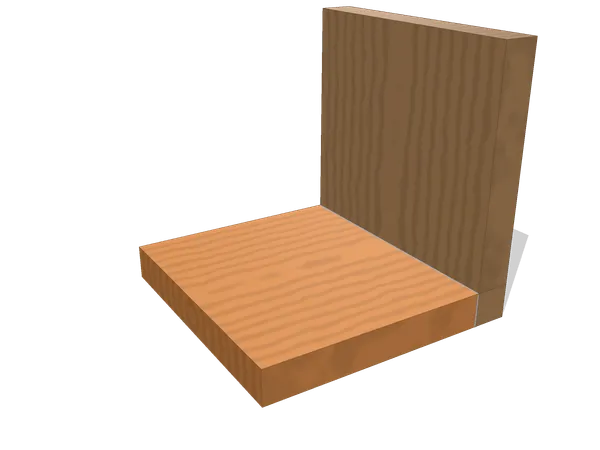
A splined miter joint starts as a plain mitre and adds one part after the fact: a thin strip of wood let into a slot cut across the closed corner. The mitre itself does none of the extra work: it is cut and fitted exactly as it would be on its own, with the two faces meeting on the bisector and no shoulder or socket holding them together. The spline is what changes the picture. Set into a slot that crosses both mitred faces, with its own grain running from one board straight into the other, it turns a joint that was mostly end grain to end grain into one with a real long-grain glue surface running the width of the corner.
That crossing grain also locates the joint. A plain mitre has nothing stopping the two halves sliding along their own shared bisector; only the glue resists it, and only until the glue lets go. A spline sitting square across that line stops the slide outright, the same way a loose tenon locates two mitred edges glued face to face. The spline here is 5 mm3/16 in thick by default and reaches 9 mm3/8 in into each half, dimensions set by the stock, not fixed: a thicker board carries a deeper spline without weakening either half.
When to use a splined miter joint (and when not to)
A mitre already does the job here (a mitred box, a picture frame, a plinth returning around a corner); a spline is worth adding whenever the corner will see more handling than a bare mitre resists comfortably. The added long-grain surface and the mechanical stop both work in the corner’s favour without changing the outside line the mitre was chosen for. Where a visible spline at the edge reads as a feature, it can also do decorative work in contrasting wood.
Three constraints work against a splined mitre: light trim where a plain glued mitre already holds well enough, work where a visible line of end grain at the edge is unwelcome, and stock too thin to leave real wall either side of the slot, which breaks out under light pressure once pared. A corner that must go together in one motion, with no separate step for the spline, is better served by a mitre reinforced some other way.
Layout and cutting, step by step
The mitre itself is already finished, so marking here means gauging a slot into a face that is already planed and true, and doing it from the same setting on both halves.
- Cut and true the mitre first, exactly as for a plain mitred corner, and dry-fit the two halves to confirm the angle before the slot is touched.
- Set a marking gauge to the setback from the outside corner and run it across each mitred face, striking a line parallel to the corner itself.
- Set a slotting jig or a table saw’s fence to that same setting for both halves, so the two half-slots land on one another once closed.
- Cut the slot to the marked depth in each half, working from the mitred face rather than an edge, and keep both passes to one setting.
- Plane or sand a length of spline stock until it seats in the slot under light hand pressure, with no gap and no forcing.
- Cut the spline to width, checking that its grain runs across the corner and not along the line of the mitre.
- Dry-fit the spline into one half and bring the second half up to it, confirming the mitre still closes fully with the spline in place.
- Glue the mitre and spline in one operation, spreading glue in both half-slots and on the mitred faces, then clamp across the corner.
Common mistakes
Offer the spline home and the corner closes around it; extra thickness left on the spline reads as an even line of daylight down the whole glue line, never as a gap favouring one edge.
Cutting the slot before the mitre itself is confirmed true wastes the whole operation on a corner that will need re-cutting anyway; check the dry-fitted mitre first, every time. A setting changed between the two halves is the next most common fault: the spline seats in one half and binds or rattles in the other, because the two slots no longer share one depth and position. Grain run the wrong way in the spline (along the mitre rather than across it) leaves a reinforcement that can shear along its own length under load, which defeats the reason for adding it. A spline left thick shows as daylight along the glue line at test-fit, and the fix is a shaving off the spline, never force on the clamps. Gluing before a dry run is the last trap: once glue is in the slot there is no way to check the mitre still closes fully with the spline seated.
Splined miter joint vs miter, biscuit and box joints
Choose a splined miter when a mitred corner will see real handling and needs long-grain glue area at the joint line; a plain miter, biscuit or box joint suits lighter trim, a hidden edge, or a corner built from interlocking fingers instead.
A plain miter joint is what this one starts from, and the comparison is mostly about what the added slot buys: genuine long-grain glue area and a mechanical stop against sliding, at the cost of one more operation and, on some corners, a visible line of end grain a bare mitre would not show.
A biscuit joint reinforces a corner a similar way (a slot, a loose part, glue), but a biscuit swells across its own width rather than presenting continuous grain along the join, and its slot is cut with a dedicated tool rather than shaped to the mitre’s own bisector. A biscuited corner stays hidden, where a spline commonly shows at the edge.
A box joint abandons the mitred line altogether for interlocking fingers across the whole corner, trading the mitre’s clean outside line for far more glue area and a joint that needs no separate reinforcing part to carry real work.
Variants
Feather keys across the corner. Several thin splines, cut after the mitre is glued and spaced along the corner rather than one full-width spline, read as a row of decorative lines and suit a longer edge better than one wide slot would.
Contrasting decorative spline. The same joint, cut with a spline in a visibly different species or colour, turns the reinforcement into a deliberate detail at the corner rather than something to be hidden.
Double dovetail key. A key shaped with flared sides rather than parallel ones locks into its own slot mechanically as well as by glue, at the cost of a slot that must be cut, not just sawn, to the key’s own angled shape.
Frequently asked questions
Which way should the spline’s grain run?
Across the corner, from one board to the other, never along the mitre itself. A spline cut with its grain the same way as the mitre is short-grained at exactly the point it should reinforce, and can snap along the glue line under the same load the bare mitre would fail under.
Is a keyed miter the same as a splined miter?
"Keyed" and "splined" name the same technique here: a thin strip let into a slot across the corner. A separate, decorative key inset after the corner is already glued is a related but different variant, covered below.
How thick should a spline be?
Thick enough to leave real wall either side of the slot in the stock, and no thicker than a saw blade or router cutter already on hand can cut cleanly. A third to a quarter of the stock thickness is a reasonable starting point for most casework.
Can a spline be added after a mitre is glued?
Yes, and it is common practice: the corner is glued and squared first, then one slot is cut straight across the assembled corner and one spline fitted to it. That sequence removes the risk of the two half-slots stepping out of line.
Sources and revision history
- Noyes, Handwork in Wood (1910), the bevelled joints section, Nos. 54-57 (public domain)
- Wikipedia: Miter joint (strengthening a mitre with a spline)
Revision history
- Published
- Last updated
Related joints
All wood joints
Every joint on the site, live and planned, grouped by how the pieces meet.
Miter joint
Two ends cut at half the corner angle meet with no end grain showing outside.
Biscuit joint
Compressed oval biscuits sit in crescent slots, swelling with glue to align two edges.
Dovetail joint
Wedge-shaped tails drop between pins so the corner locks mechanically along one axis, not by glue alone.
Box joint
Square fingers alternate across the corner, every one cut to the same width.