Bridle joint
Corner · Visible · Hand or power · Difficulty 3/5
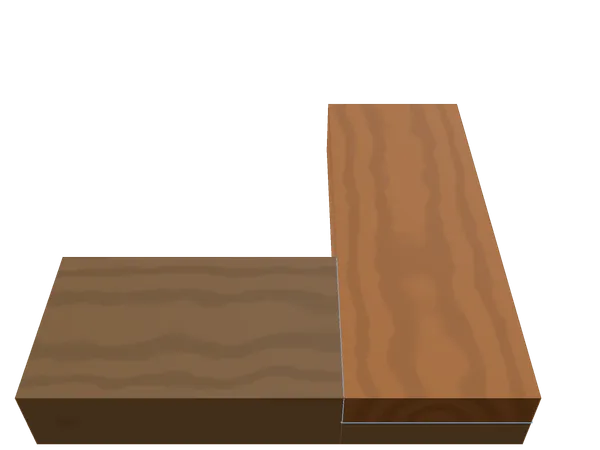
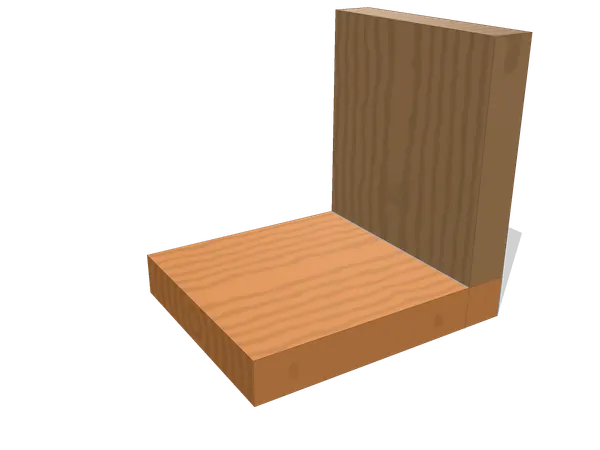
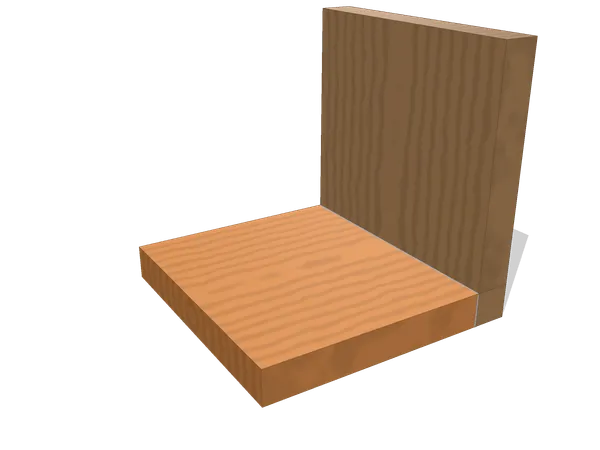
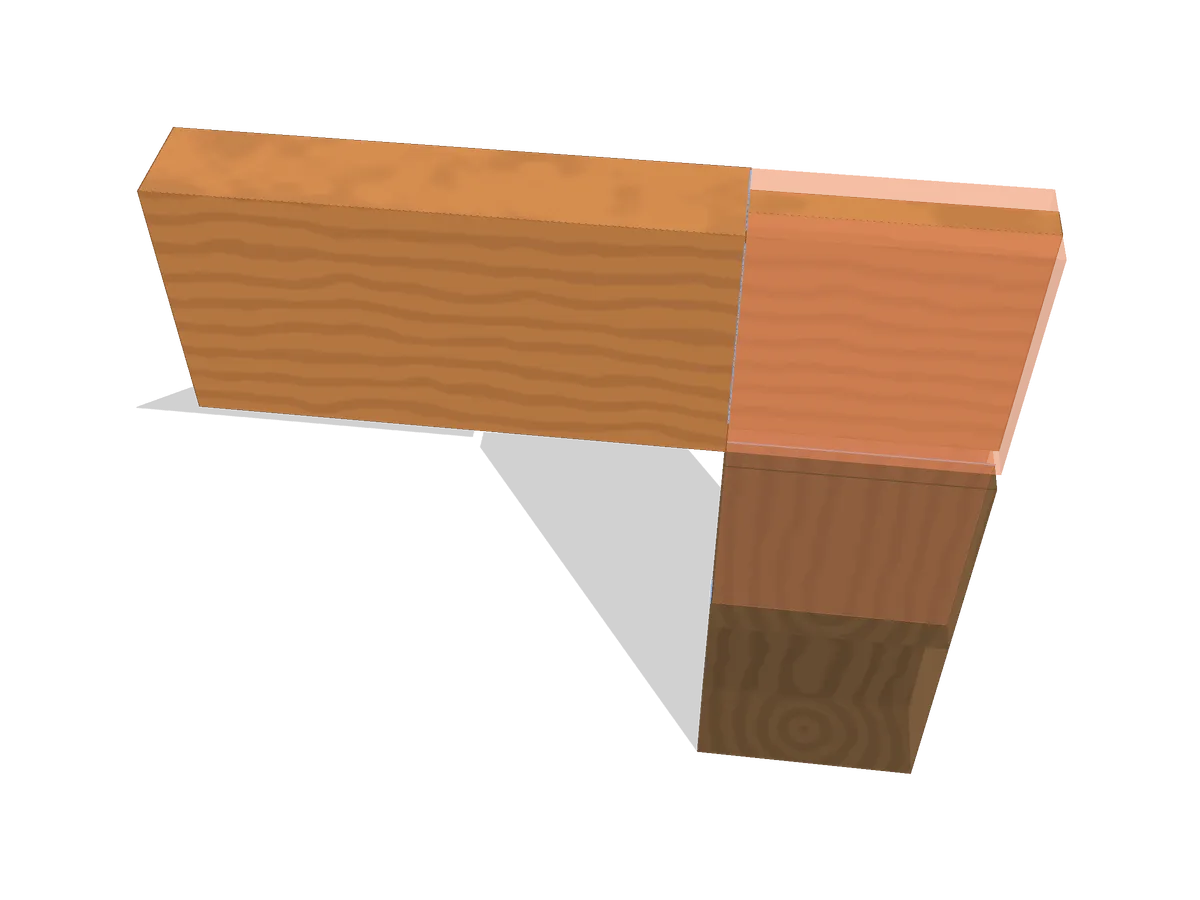
A bridle joint opens a mortise through the end of one piece rather than cutting it as a blind pocket, and leaves a full-width tenon on the other. Every bearing surface stays in view while it is marked, cut and fitted, and the joint shows on both edges of the corner once it is glued.
The 3D viewer stopped.
Mark out (1 of 4)
- Also called
- open mortise and tenon, slot mortise and tenon, slip joint
- Family
- Corner · socket
- Joins
- two boards at a corner
- Typical use
- frame corners in workshop furniture; leg-to-rail corners on light frames; sash and screen frames
- Holds against
- Racking, Shear (qualitative)
- Difficulty
- 3/5
- Tools
- marking gauge, marking knife, tenon saw, coping saw, wide bevel-edge chisel
On this page
How the parts fit
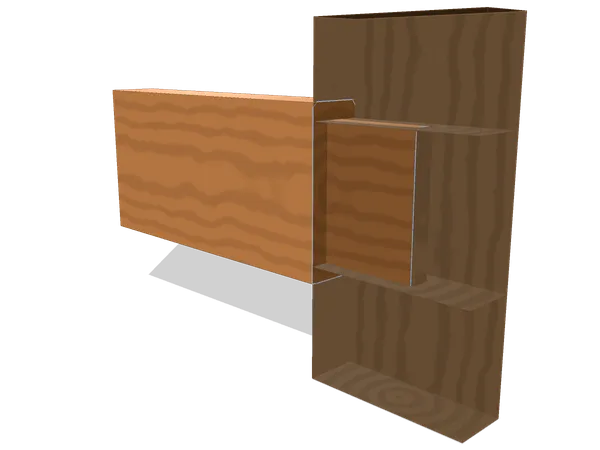
The rail sits down into the post’s own open end, its shoulders against the post and its tenon gripped between two cheeks: every bearing surface on view from the two edges of the corner, nothing tucked out of sight.
Open the end of a post from one edge to the other and what is left is two prongs and a gap between them: that gap is the mortise, cut wide open rather than as a blind pocket. The rail carries a tenon that fills the gap’s whole width, so instead of dropping a tongue into a stopped hole the way an ordinary mortise and tenon does, the rail’s tenon slides down between the two prongs, called the cheeks, from directly above the post.
Four surfaces do the work once closed. The tenon’s two broad faces bear on the inside of the two cheeks, long grain to long grain, where the glue does most of its holding. The rail’s shoulders land on the post’s own end grain, fixing the rail square and stopping it twisting under a racking load. The default tenon here fills 7 mm1/4 in of a 22 mm7/8 in stile, about a third of the thickness. Because the slot is open on three sides (the post’s end and both edges), every surface stays visible while it is cut and fitted, which is the joint’s trade: open work, for cheeks thin enough at the post’s outside corner to carry short grain.
When to use a bridle joint (and when not to)
A bridle joint belongs on frame corners where a mortise and tenon would otherwise be the obvious choice, but where the corner is going to show on its two edges regardless of which joint is used: leg-to-rail corners on light frames, sash and screen frames, workshop furniture built to be seen while it is being fitted. Being able to watch every surface as it is pared makes this a forgiving joint to cut by hand, since a tight spot in the fit is visible rather than guessed at.
Thin stock is the tighter limit: a cheek pared down from already-thin material splits along its own short grain more easily than a thicker one does. The corner’s own look is the other constraint, since an open slot and its shoulder line stay part of the finished look wherever the edges must read as unbroken, not hidden the way a stopped mortise is. A corner loaded specifically across the cheeks near the post’s outside edge (the shortest grain in the joint) asks more of that grain than the geometry comfortably gives.
Layout and cutting, step by step
One setting on the gauge marks both halves at once: around the post’s end for the slot, and around the rail for the cheeks either side of the tenon.
- Mill the stock and mark a face side and a face edge on every piece, since every gauge line here is set from those two surfaces on both parts.
- Set a mortise gauge to the tenon thickness and run it around the post’s end to mark the slot, then around the rail’s own end to mark the tenon cheeks, without changing the setting between the two.
- Square a shoulder line around the rail at a distance equal to the post’s own width, so the tenon finishes exactly as long as the post is wide.
- Saw down both walls of the slot from the post’s end to the depth line, staying just on the waste side of each knife line.
- Chop or pare the waste between the two saw cuts, working from both faces toward the middle so the cheeks are not levered against.
- Saw the tenon’s two cheeks on the rail down to the shoulder line, then saw the shoulder itself with the blade registered in the knife wall.
- Offer the rail into the slot from above and pare high spots from the cheeks a shaving at a time until it seats under hand pressure.
- Glue both cheek faces and the shoulder, seat the rail home, and clamp across the corner until the glue sets.
Common mistakes
Nothing here is guesswork, because the whole joint stays visible as the rail drops home: a tight cheek shows itself the moment it binds, long before the shoulders arrive.
Gauging the slot from one face and the tenon from the other is the most common source of an offset joint that still goes together cleanly, because nothing in the fit itself catches the error; mark every face side from the same reference. Forcing the rail home rather than pausing at the first sign of resistance is the next fault: the joint’s whole advantage is that the binding spot is visible as it happens, and pushing past it splits short grain at the post’s outside corner instead of the shaving that should have come off. A shoulder that closes on one edge and stands open on the other usually means the shoulder line was not square across the rail, or the post’s end was not square to its own face. Cheeks left too thin from over-paring rattle sideways, and the fix is a glued shaving on one face, not a new rail. Skipping the dry fit removes the one chance to catch a binding cheek while it still costs nothing to correct.
Bridle joint vs mortise and tenon, half-lap and dado joints
Choose a bridle joint when a frame corner will show on both edges and you want to watch the fit as it is cut; a mortise and tenon, half-lap or dado suits a corner that should read as unbroken or a shelf housed mid-span instead.
A stopped mortise and tenon hides its own joinery inside a blind pocket, suiting a corner that should read as unbroken; a bridle joint opens the same construction to view, suiting a corner that will show on its edges anyway and rewarding a fit checked by eye rather than by feel.
A half-lap notches both pieces to half their thickness and overlaps them, a wide, simple glue area that reads as an overlap rather than a continuous frame; a bridle joint keeps the post’s and rail’s own lines distinct at the corner instead.
A dado houses the end of one piece in a trench across the face of another, a mid-span joint rather than a corner one; a bridle joint has no equivalent trench, since its slot opens at the post’s own end rather than stopping inside the piece.
Variants
T-bridle. The same open slot cut partway along a piece rather than at its very end, taking a rail into the middle of a longer member instead of joining two corners.
Mitred bridle. The post’s outside corner is mitred back before the slot is cut, hiding the open end grain that would otherwise show at the post’s own edge.
Angled bridle. The slot and tenon are cut to something other than a right angle, carrying the same open construction into a raked or splayed frame corner.
Frequently asked questions
Is a bridle joint the same as an open mortise and tenon?
"Open mortise and tenon", "slot mortise and tenon" and "bridle joint" all name the same construction: a mortise left open at the end of the post rather than stopped as a blind pocket, taking a full-width tenon. The naming varies more than the joint itself does.
How thick should the tenon be?
About a third of the stock thickness is the usual starting point, the same convention a stopped mortise and tenon uses, though a bridle joint tolerates a slightly thicker tenon since both cheeks stay visible and can be pared to fit while watching the result directly.
Why do the slot walls split at the corner?
Each cheek is short grain running out to the post’s own end, and a slot cut narrow enough to grip the tenon can split that short grain if it is forced rather than pared. Sizing the slot a shaving wide of the tenon and easing it in avoids the strain that causes it.
When is a bridle joint a better choice than a mortise and tenon?
When the fit needs to be checked and corrected as it is cut, rather than trusted to a blind chisel stroke. Every bearing surface stays visible through cutting and fitting, which suits a corner that will show on its edges anyway; nothing about the geometry ranks it above or below a stopped mortise and tenon.
Sources and revision history
- Fairham, Woodwork Joints (The Woodworker Series, revised edition), the bridle joint chapter (public domain)
- Wikipedia: Bridle joint (terminology and variants)
- Noyes, Handwork in Wood (1910), No. 46 "A slip-joint" (public domain)
Revision history
- Published
- Last updated
Related joints
All wood joints
Every joint on the site, live and planned, grouped by how the pieces meet.
Mortise and tenon joint
The tenon enters a cut pocket; its shoulders land on the face and fix the angle.
Half-lap joint
Each piece gives up half its thickness so the two halves stack back into one thickness.
Dovetail joint
Wedge-shaped tails drop between pins so the corner locks mechanically along one axis, not by glue alone.
Box joint
Square fingers alternate across the corner, every one cut to the same width.