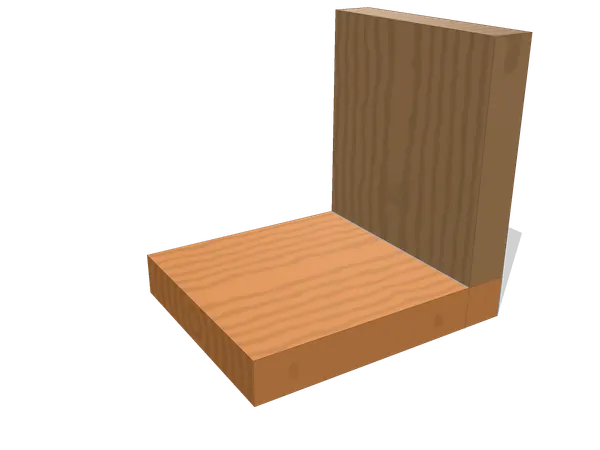
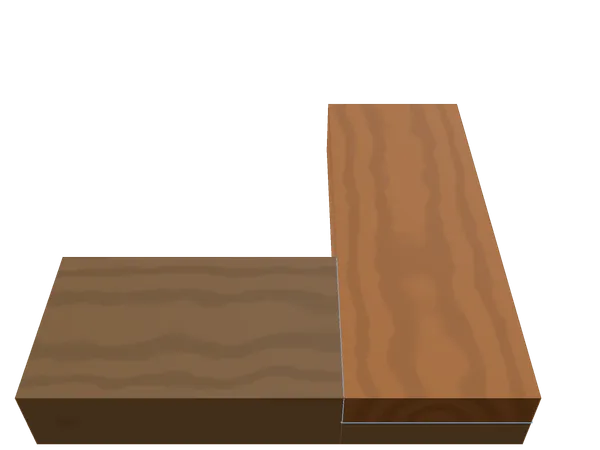
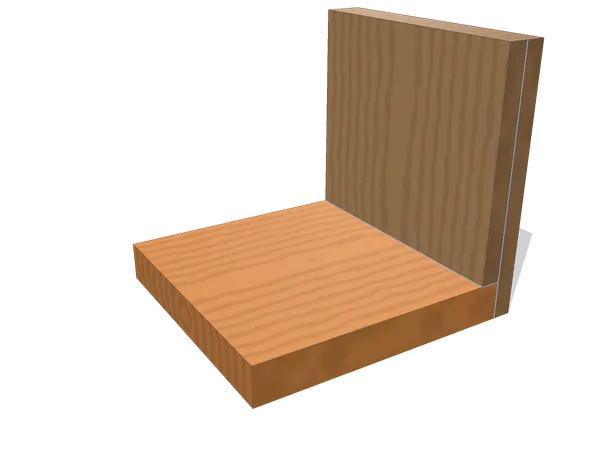
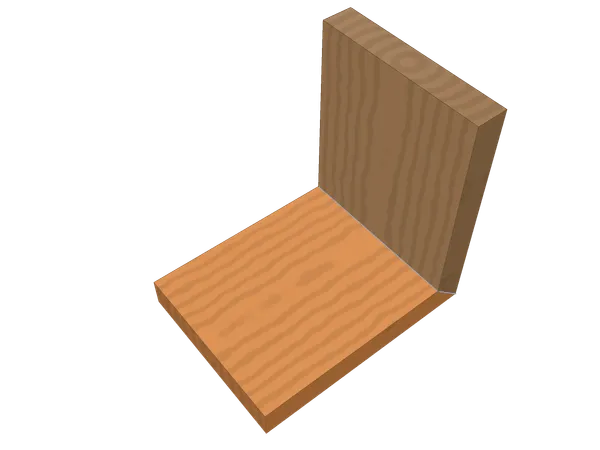
Box joint
Corner · Visible · Hand or power · Difficulty 3/5
A box joint (also called a finger joint) closes a corner with square fingers that alternate across the width of both boards, every one cut to the same width. The interlock adds long-grain gluing surface rather than a mechanical lock, so the corner depends on glue and on fingers cut to a consistent pitch.
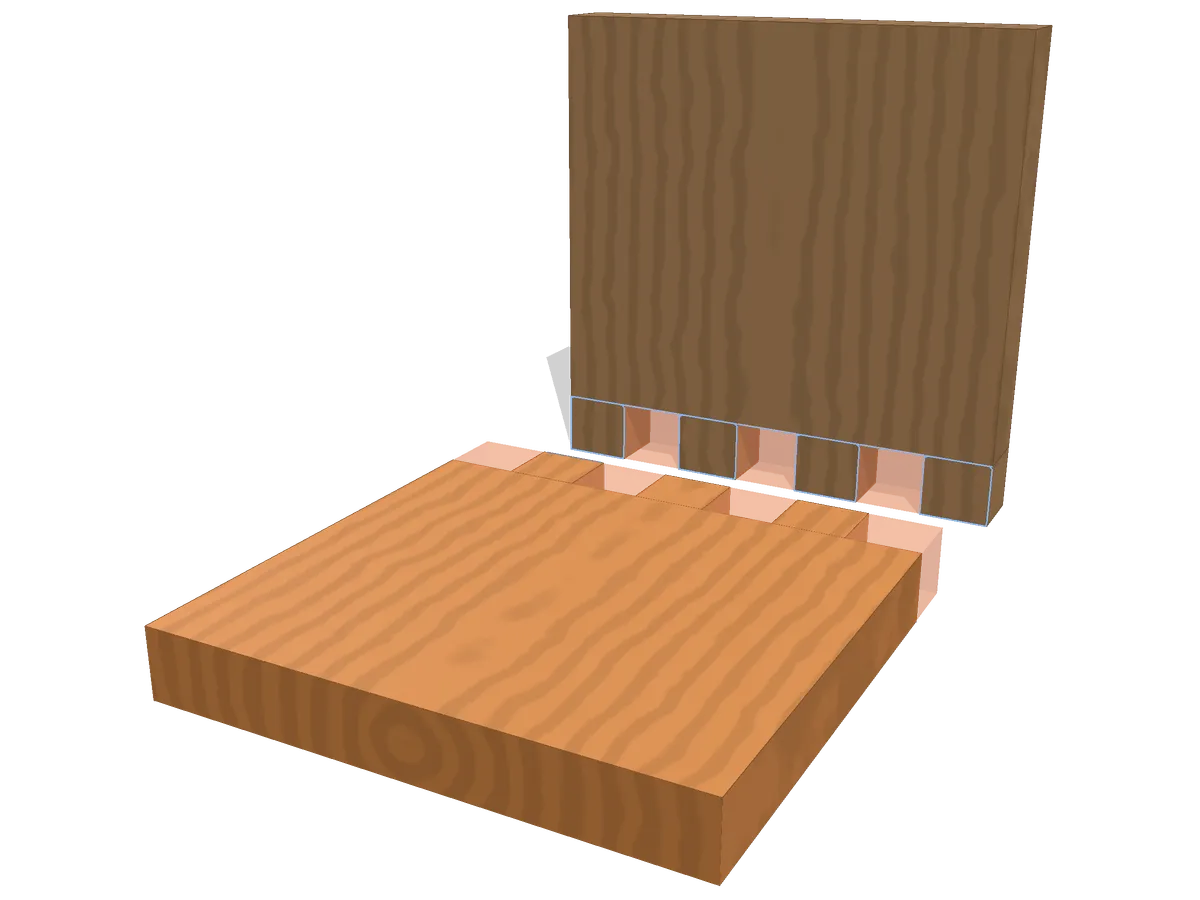
The 3D viewer stopped.
Mark out (1 of 4)
- Also called
- finger joint, comb joint
- Family
- Corner · end interlock
- Joins
- two boards at a corner
- Typical use
- drawer boxes and small casework; tool and jig boxes; shop drawers cut on a jig
- Holds against
- Shear, Racking (qualitative)
- Difficulty
- 3/5
- Tools
- marking gauge, marking knife, tenon saw, coping saw, wide bevel-edge chisel
On this page
How the parts fit
Every finger now bears on two long-grain cheeks, the alternating band of end grain across the closed corner the only outward sign of the joint. Nothing about the shape stops the boards sliding apart on the axis they came together on.
A box joint is a woodworking corner cut from one setting stepped off again and again across the width of both boards. Where a dovetail cuts a handful of shaped tails, a box joint cuts a run of identical square fingers, so the whole width divides into equal cells and every cell belongs to one board or the other. At the default four fingers on a 120 mm4 3/4 in board that is seven cells of roughly 17 mm11/16 in each, and both outside edges finish with a full finger rather than a sliver.
Two boards, two roles. The finger board projects its fingers to the very end of the stock; the mating board’s own thickness sets the baseline the fingers are marked to, so one board’s dimension governs where the other is cut. Because every finger is square-sided rather than tapered, none of them wedges against anything: the joint’s whole grip comes from the long-grain cheeks each finger presents to its neighbour, and with four fingers a side that is seven separate glue faces across one corner.
Nothing about the shape resists a straight pull along the axis the boards close on. What holds the corner is area and repetition, not geometry, which is also why one pitch cut slightly wrong shows up as many small gaps rather than a single obvious one.
When to use a box joint (and when not to)
It suits drawer sides, small boxes, jigs and shop fixtures built repeatedly on the same setup: anywhere the fingers are allowed to show and the width divides comfortably into four or five equal cells. Cut on a jig it is fast and consistent across a whole run of identical parts, which is exactly the case a jig-based box joint is built for.
End grain shows in a full band across the corner here, more than it does on a dovetail, and that rules the joint out wherever bare end grain is unwelcome. Thin stock leaves fingers too narrow to cut cleanly or to hold a chisel against, and any assembly pulled straight apart along the boards’ own axis is relying on glue alone, with no mechanical lock behind it.
Layout and cutting, step by step
One pitch, stepped off across the end grain of both boards from a baseline scribed at the mating board’s own thickness, is the entire layout: nothing else is measured.
- Mill both boards to the same width and mark a face side on each; every gauge line that follows is set from those faces.
- Set a gauge to the mating board’s thickness and scribe that baseline across the end of the finger board, on both faces and both edges.
- Divide the width into equal cells (17 mm11/16 in for four fingers on a 120 mm4 3/4 in board) and step the pitch off with dividers rather than a ruler, so a small error in one span does not compound across the whole width.
- Square each pitch mark down to the baseline with a knife, on the finger board’s end grain and its two faces.
- Transfer the same pitch to the mating board’s end grain: hold the two boards together, edges flush, and knife straight across from the finger board’s own lines.
- Saw down each waste line to the baseline, staying on the waste side of the knife wall, then clear the cells with a coping saw and pare back to the line with a wide chisel.
- Work both boards from opposite faces where the cell belongs, so the fingers that will interleave are each pared from the side that actually shows the waste.
- Dry-fit. Every finger should enter its socket at the same moment; a joint that starts on one side and binds on the other has one pitch mark off the rest.
Common mistakes
A joint that will not start square usually has one finger cut fat rather than the whole pitch wrong, and pressing the two boards together by hand finds it faster than measuring does.
Marking the pitch with a ruler rather than stepping it off with dividers is the most common source of drift: a ruler reads to the nearest mark, and four or five readings each a hair off compound into a joint that closes tight at one edge and gapes at the other. Cutting every socket from the same face instead of alternating sides leaves the sawn kerf biased the same way on every cell, which narrows some fingers and widens others by the width of one saw cut.
Read the dry fit before reaching for a chisel again: a corner that will not start at all usually has one finger cut wide, not the whole layout wrong, and planing a shaving off that one finger’s cheek is the fix, not recutting the run. A joint that starts easily but will not close fully has a socket cut shallow of the baseline; pare its floor rather than forcing the fit. And a finger that splits when it is pared is being worked from the wrong face: always pare toward the waste side, never toward the finger’s own remaining wood.
Box joint vs dovetail, half-lap and rabbet joints
Choose a box joint when the fingers can show and a single repeated pitch matters more than a mechanical lock; a dovetail, half-lap or rabbet answers a corner that needs a different grip or less bench time.
A dovetail cuts the same idea with tapered tails instead of square fingers, and that taper is what resists a straight pull; a box joint gives up that lock in exchange for a layout with only one measurement to get right, repeated rather than varied.
A half-lap removes half the thickness from each piece rather than interlocking fingers across the width, so it needs one gauge setting instead of a stepped-off pitch, but it shows a lapped face on both sides of the corner where a box joint shows only end grain.
A rabbet leaves the mating board entirely uncut and lets a single step register it, which is far less work but gives the corner only one bearing surface instead of the many long-grain cheeks a box joint’s fingers present to each other.
Variants
Keyed box corner. A dovetail-shaped key is let into the assembled corner after the fingers are glued, crossing the joint line and adding a mechanical lock the plain fingers do not have on their own.
Splined box corner. A saw kerf run across the finished corner at an angle takes a thin strip of contrasting wood, which is decorative first and structural only incidentally.
Half-blind box joint. The fingers on one board stop short of the outer face, so the interlock still shows from one side of the corner but is hidden from the other, a small step toward what a half-blind dovetail does more completely.
Frequently asked questions
Is a box joint the same as a finger joint?
They are close enough that the names are used for each other, but strictly a box joint closes a corner, and finger joint more often names the end-to-end version that lengthens a board with interlocking fingers along its face. Comb joint is another name for that lengthening joint, not for this corner.
How many fingers should a corner have?
Enough that each one is still comfortably wide once the board width is divided by the cell count: four or five fingers on a drawer side is typical. More fingers repeat the same small error more times; fewer fingers leave less glue area per finger.
Does a box joint need a jig?
Not strictly, but a jig is what makes every pitch identical, which is the whole basis of the joint. Cut by hand from knifed lines it works the same way; a jig just removes the chance of the setting drifting between fingers.
Why does a box joint come apart in one direction when a dovetail does not?
A box joint finger is the same width at every depth, so nothing about its shape resists a straight pull along the axis the boards came together on. A dovetail tail is wider at the board end than at the baseline, and that taper is what wedges against withdrawal.
Sources and revision history
- Wikipedia: Box joint (terminology and variants)
- Wikipedia: Finger joint (the lengthening joint, and the comb-joint synonym)
- Fine Woodworking: All About Box Joints
Revision history
- Published
- Last updated
- : Added a trade source for the layout conventions.
Related joints
All wood joints
Every joint on the site, live and planned, grouped by how the pieces meet.
Dovetail joint
Wedge-shaped tails drop between pins so the corner locks mechanically along one axis, not by glue alone.
Half-lap joint
Each piece gives up half its thickness so the two halves stack back into one thickness.
Rabbet joint
Along one edge runs a square step; the mating board sits into it and the corner registers.
Miter joint
Two ends cut at half the corner angle meet with no end grain showing outside.