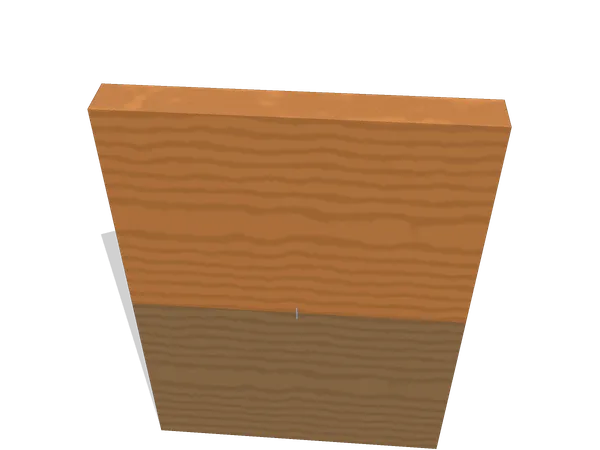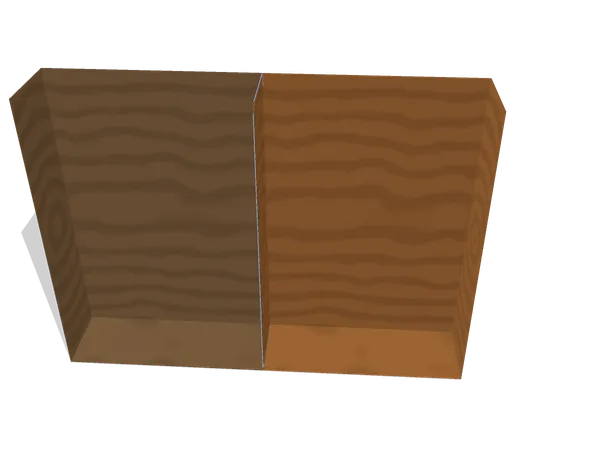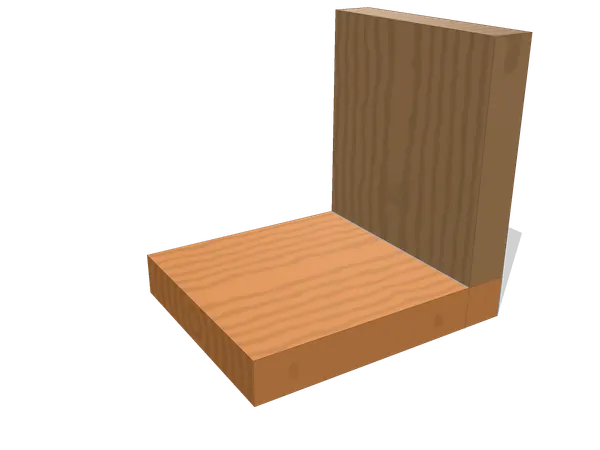
Dovetail joint
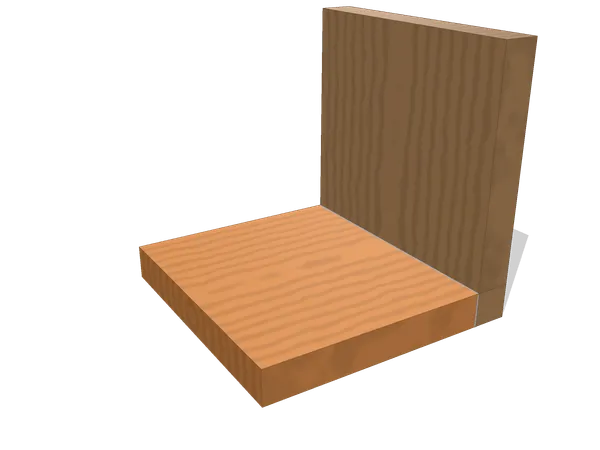
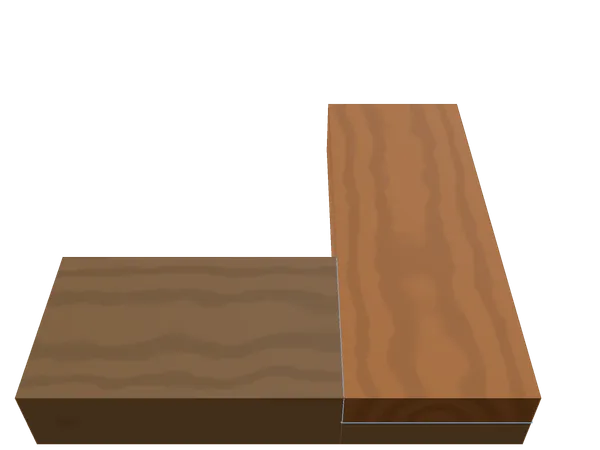
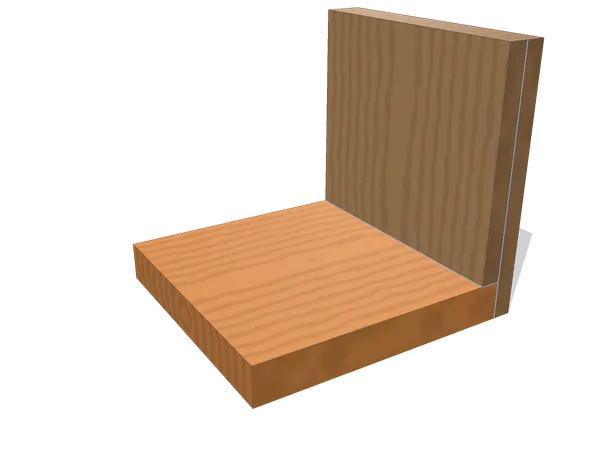
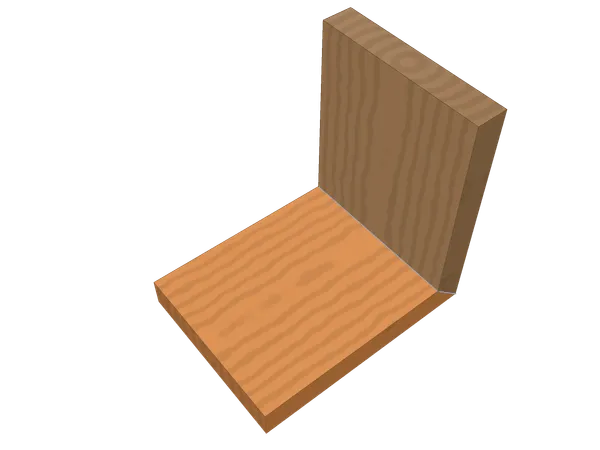
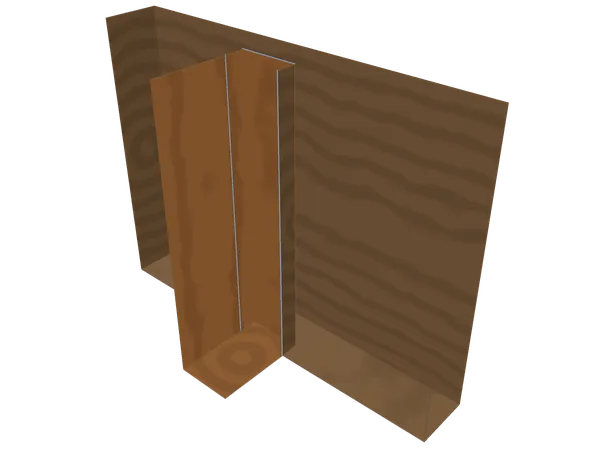
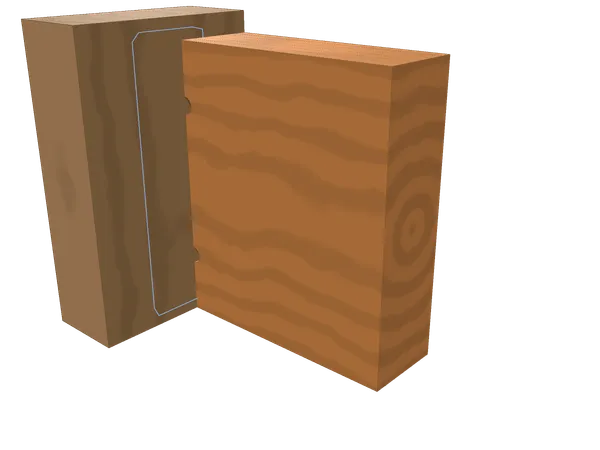
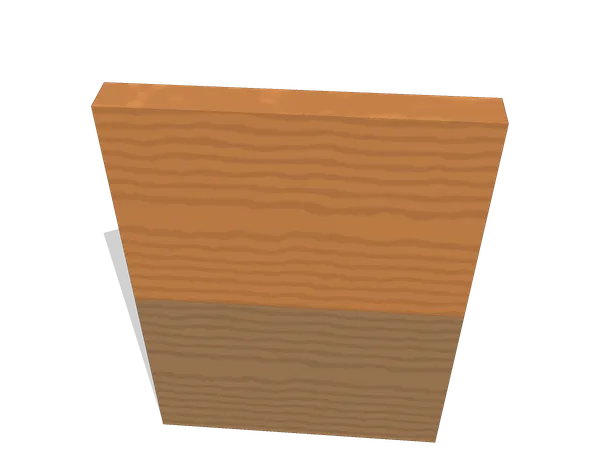
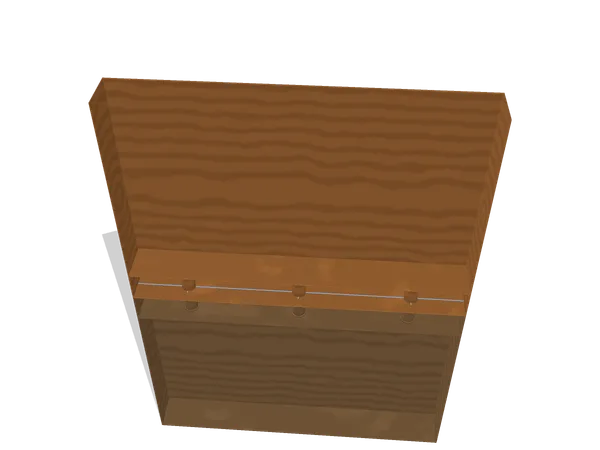
Wedge-shaped tails drop between pins so the corner locks mechanically along one axis, not by glue alone.
A wood joint is the geometry two pieces of wood share where they meet. Three things decide what it does: how much long-grain surface the two pieces present to glue, whether the shape mechanically locks against a direction of pull, and which way the grain runs through the parts that have to hold. Every joint on this page is a different answer to those three, and the 3D viewer on each page shows the answer being cut.
The diagram below is the whole taxonomy this site uses. One axis is where the pieces meet: at a corner, in a T, along an edge, or end to end. The other is what holds them: shaped wood that interlocks, or a separate fastener. A joint's family decides which section it sits in below; its holding method decides what the viewer has to show.
Geometry
Visibility
Reinforcement
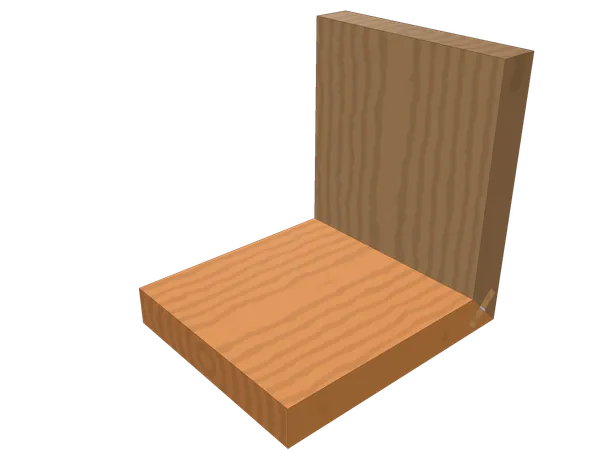
Two pieces meeting at the outside angle of a box or a frame.
Wedge-shaped tails drop between pins so the corner locks mechanically along one axis, not by glue alone.
Square fingers alternate across the corner, every one cut to the same width.
Each piece gives up half its thickness so the two halves stack back into one thickness.
Along one edge runs a square step; the mating board sits into it and the corner registers.
Two ends cut at half the corner angle meet with no end grain showing outside.
Slotting a finished miter and setting a thin spline across the line adds long-grain gluing surface.
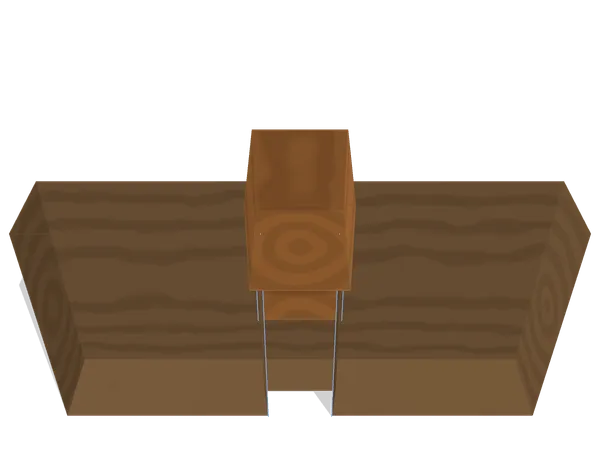
An open mortise takes a full-width tenon, so the joint is cut entirely from the outside.
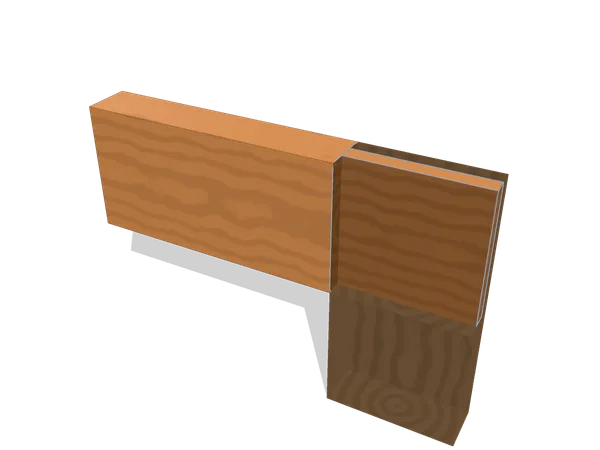
The end of one piece landing on the face or edge of another.
The tenon enters a cut pocket; its shoulders land on the face and fix the angle.
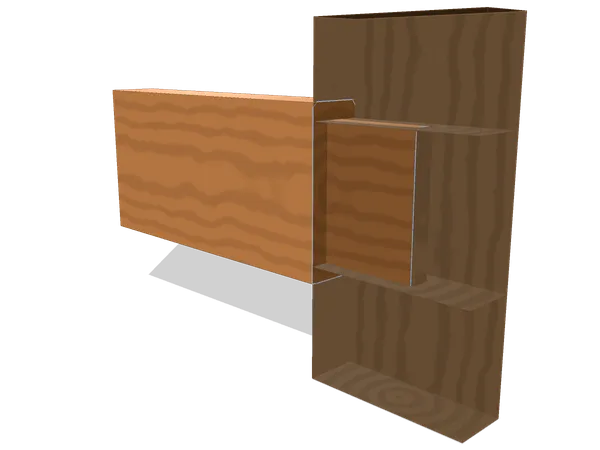
Tapered tail, matching housing: a shelf goes in from one end and slides home along it.
A flat-bottomed trench across the grain houses the end of a shelf on three sides.
Screws leave a bored pocket at a shallow angle and bite into the stile through the rail end.
Two boards joined along their long edges to make a wider panel.
A tongue on one edge sits in the groove of the next, keeping boards flush as they move.
Round pins in matched bored holes register two boards and carry the glue line between them.
Compressed oval biscuits sit in crescent slots, swelling with glue to align two edges.
Two pieces continuing in the same line, end grain to end grain.
Two square-cut ends meet with nothing but glue or a fastener holding the line together.
| Joint | Geometry | Visibility | Holds against | Difficulty | Hand/Power | Typical use |
|---|---|---|---|---|---|---|
| Biscuit joint | Socket | Hidden | Shear | 1/5 | Power | edge-jointed panels and table tops |
| Box joint | End interlock | Visible | Shear, racking | 3/5 | Hand or power | drawer boxes and small casework |
| Bridle joint | Socket | Visible | Racking, shear | 3/5 | Hand or power | frame corners in workshop furniture |
| Butt joint | Fastened | Visible | Shear | 1/5 | Hand or power | carcase framing and rough carpentry |
| Dado joint | Socket | Either | Shear, racking | 2/5 | Hand or power | fixed shelves in bookcases and cabinets |
| Dovetail joint | End interlock | Visible | Pull apart, racking | 4/5 | Hand or power | drawer fronts and sides |
| Dowel joint | Socket | Hidden | Shear | 2/5 | Hand or power | edge-jointed panels and table tops |
| Half-lap joint | Face cut | Visible | Racking, shear | 2/5 | Hand or power | shop jigs and workbench stretchers |
| Miter joint | Face cut | Hidden | Shear | 2/5 | Hand or power | picture and mirror frames |
| Mortise and tenon joint | Socket | Hidden | Racking, shear | 3/5 | Hand or power | door stiles and rails |
| Pocket-hole joint | Fastened | Hidden | Shear | 1/5 | Power | face frames for cabinets |
| Rabbet joint | Face cut | Visible | Shear, racking | 2/5 | Hand or power | cabinet backs let into a carcase |
| Sliding dovetail joint | Socket | Hidden | Pull apart, racking | 4/5 | Hand or power | fixed shelves in a carcase |
| Splined miter joint | Socket | Visible | Shear, pull apart | 3/5 | Hand or power | boxes and small casework with mitred corners |
| Tongue and groove joint | Edge | Visible | Shear | 2/5 | Hand or power | panelling and boarded doors |
Scroll the table sideways
Start with the direction the load will come from, not with the joint. If the two pieces will be pulled apart along one axis (a drawer front against its sides), a joint whose shape traps that direction does work that glue alone cannot. If the load is a rack, a frame trying to fold into a parallelogram, then what matters is the shoulder that fixes the angle and the long-grain surface behind it.
Then ask what the joint has to look like. Some joints are meant to be read from the outside; others exist to disappear. That decision removes about half the list before any tool question arrives.
Tooling comes third, and it is the one you can change. Most of the joints here can be cut by hand or by machine; the choice usually shows in how consistent the spacing is, not in whether the joint works.
Last, be honest about the stock. Thin material, wide panels that will move across the grain, and end grain that has to take a fastener all rule out particular joints for reasons that have nothing to do with skill. The "Avoid when" line on each joint page lists those before the steps.
The half-lap. It is one gauge setting and two saw cuts per piece, the fit is easy to read against a straightedge, and the two mistakes it teaches, a shoulder off square and a floor left high, come back in every harder joint.
There is no fixed number, because most named joints are variations on a smaller set of ideas. This site draws fifteen, chosen so that every family and every holding method has at least one worked example.
The geometry is the same; the tolerances and the spacing are not. A jig gives identical, evenly spaced parts, and hand work lets you vary the spacing and cut narrower pins or wider shoulders. Both are drawn from the same parameters here.
Published figures come from specific species, moisture contents, glues and test rigs, and they do not transfer to the piece on your bench. The site describes the directions a joint resists and leaves the arithmetic out. The reasoning is on the methodology page.
No. Every page renders its poster still, its prose and its facts with JavaScript switched off, and the print sheet is the same content on paper.