Miter joint
Corner · Hidden · Hand or power · Difficulty 2/5
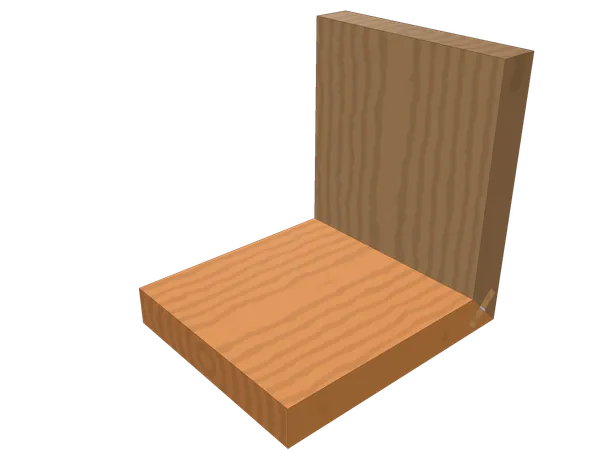
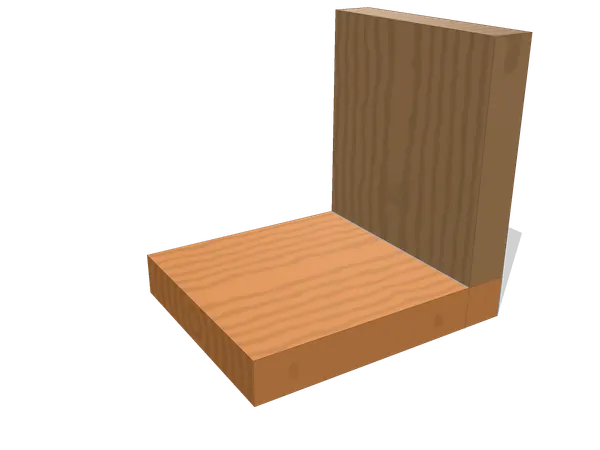
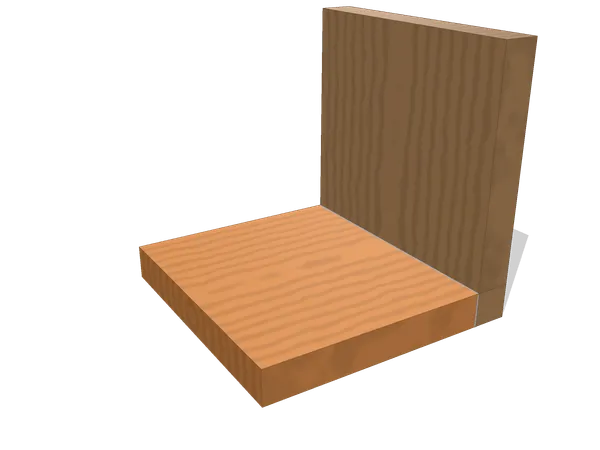
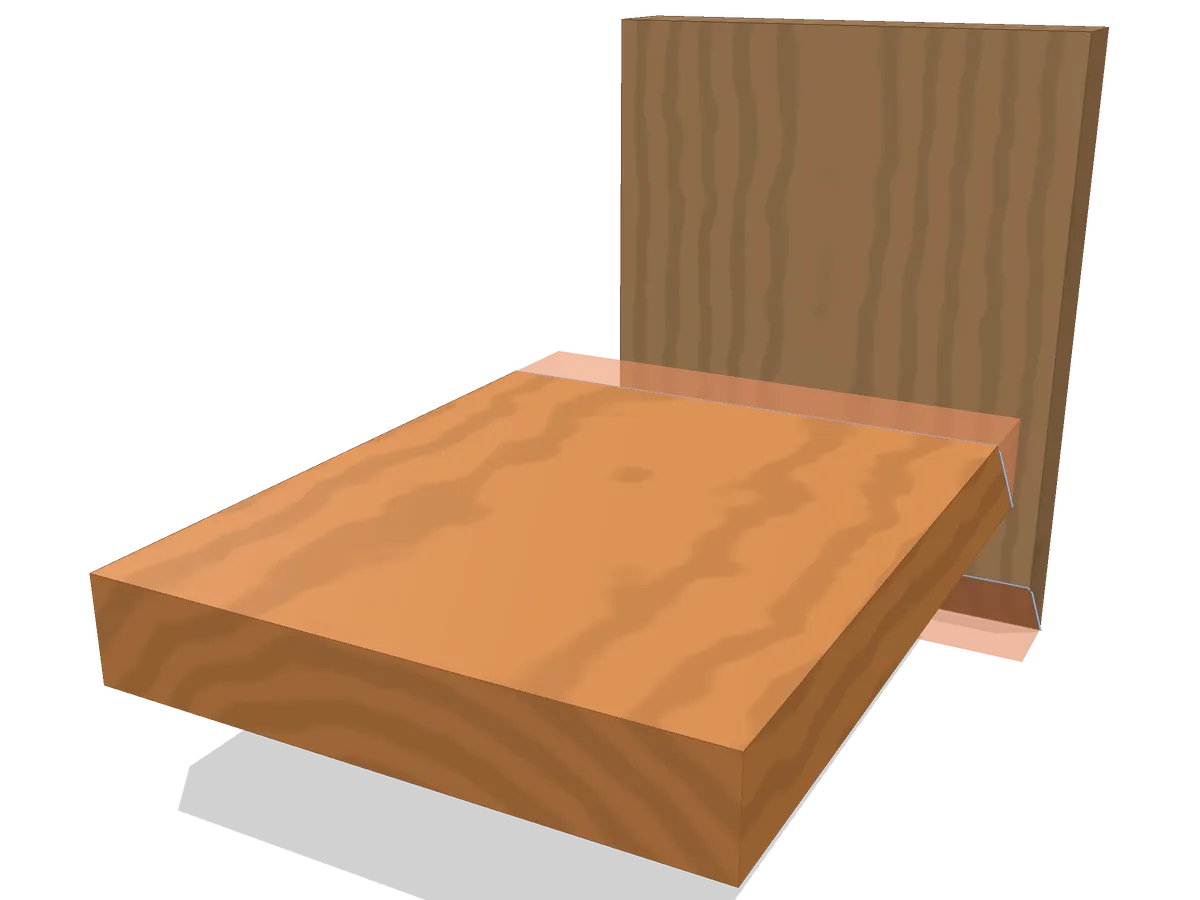
In a miter joint (a mitre, in British usage) both ends are cut at half the corner angle, so the two faces meet on the bisector and no end grain reaches the outside. The contact is broad but partly end grain, and the corner has no shape that stops the two halves sliding apart.
The 3D viewer stopped.
Mark out (1 of 4)
- Also called
- mitre joint
- Family
- Corner · face cut
- Joins
- two boards at a corner
- Typical use
- picture and mirror frames; boxes where no end grain may show; mouldings returning around a corner
- Holds against
- Shear (qualitative)
- Difficulty
- 2/5
- Tools
- mitre square or sliding bevel, mitre box or mitre saw, block plane, shooting board
On this page
How the parts fit
The corner closes on two faces of long grain meeting at an angle, and no end grain reaches either outside surface: that is the entire argument for cutting it this way.
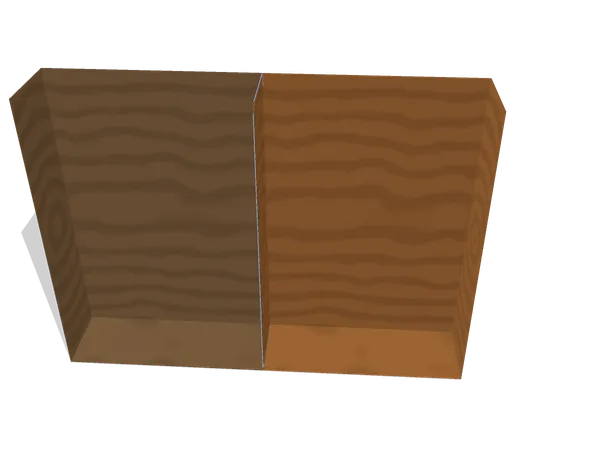
What shows on the outside is a mitre’s whole reason for existing. Both boards are cut at half the corner’s own angle, 45° for the ordinary square corner, so the two cut faces meet exactly on the line that bisects it, and neither board presents any end grain to either outside face. Nothing about the shape does that for free elsewhere; a butt joint or a rabbet always leaves someone’s end grain showing, and a mitre is the one cut that avoids it on both sides at once.
The cost sits on the inside of that same face. At 16 mm5/8 in stock, the mitred face itself runs some 23 mm7/8 in across, angled through the thickness rather than square to it, and roughly half of that contact is genuinely end grain meeting end grain, the pairing glue holds worst of any this site describes. What reads as a clean corner from outside is, on the glue line itself, a mixture the joint’s own geometry cannot avoid.
Because the two faces are identical shapes rather than a fitted pair, there is no floor, no shoulder and no socket to hold the boards apart or together on any axis except the one they were cut square to. Separate them along the bisector (the direction the closed corner opens along) and nothing resists it; that is purely the glue’s job, and it is why a mitre left unreinforced depends on that bond more than almost any other joint on this site.
When to use a miter joint (and when not to)
Appearance outranks load-bearing as the reason to pick a miter: picture and mirror frames, box corners where no end grain may show, and any moulding that has to turn a corner and keep reading as one continuous profile. It is quick to set once and repeat, and on light trim the appearance is the whole job.
Do not reach for a mitre on anything carrying real load across the corner: the joint alone offers no mechanical resistance to being pulled apart along its own bisector. Do not use it where reinforcement with a spline or a key is impossible to add later, and be wary of stock prone to movement: wood that shrinks or swells across the grain opens a mitre’s line faster than almost any other joint, because there is no shoulder standing in the way.
Layout and cutting, step by step
Half the corner angle, set once and carried to both boards, is everything that gets marked here: nothing crosses from one board to the other.
- Decide the finished corner angle; for the ordinary case it is 90°, and each board is cut at half of it.
- Set a mitre square, a sliding bevel or the fence of a mitre saw to that half-angle once, and do not touch the setting again until every board that meets at this angle is cut.
- Mark the cut line across the face of each board from the fixed setting, never by eye and never by copying a mark from the previous board.
- Cut just outside the line, leaving a shaving to remove rather than aiming to hit the mark directly with the saw.
- True the sawn face on a shooting board with a block plane, checking the angle against the original setting rather than against the board opposite it.
- Bring the two ends together dry and sight along the joint line for daylight; a gap at one edge means one end is still off the setting, not the other.
- Glue with the faces registered exactly as they were dry-fitted, since a mitre gives almost nothing to correct once the glue has taken hold.
Common mistakes
Daylight at one edge of a dry-fitted mitre almost always traces back to one saw pass, not both, so check each end against the original setting before touching either board again.
Resetting the angle between boards, rather than trusting one fixed setting, is the fault that ruins the whole run: a mitre depends entirely on both cuts sharing the same number, and even a careful eye drifts a little from board to board without a fence to hold it. Set once, lock it, and cut every piece from that one setting before moving on.
A gap that shows at the outer edge of the joint, rather than the inner one, means the angle was cut shy of the setting; a gap at the inner edge means it ran past it. Either way, plane the offending face back to the shooting board’s own reference rather than trying to split the difference by re-angling the whole cut. A corner that closes but sits proud of flush usually has boards of slightly different thickness meeting at the mitre, which no amount of angle correction will fix. And gluing before checking the dry fit wastes the one chance to catch an error that costs nothing to fix beforehand and a great deal to fix afterward.
Miter joint vs splined miter, butt and box joints
Choose a miter when no end grain may show on either outside face and the corner carries little load; a splined miter, butt joint or box joint answers a corner that will be handled, racked or leaned on instead.
A splined miter starts from exactly this joint and adds a slot across the closed corner for a thin strip of wood, trading a little more work for genuine long-grain glue area where a plain mitre has mostly end grain; the two share every measurement except that one added slot.
A butt joint gives up the concealed end grain entirely, letting one square end simply meet a face or another square end, which is far less demanding to lay out but puts end grain on open display exactly where a mitre hides it.
A box joint interlocks fingers across the whole width of the corner rather than meeting on one flat bisector, trading the mitre’s clean external line for a great deal more glue area and a joint that, unlike this one, needs no reinforcement to carry real work.
Variants
Compound miter. Both the corner angle and the tilt of the cut are set together, which is what a moulding needs wherever it turns a corner while also sloping, as in a picture frame moulding with a profiled face.
Keyed miter. A slot is cut across the assembled corner and a contrasting key glued into it after the joint is closed, adding a mechanical element to a joint that otherwise depends on the glue line alone.
Splined miter. A slot is cut into the mitred faces themselves before assembly and a thin spline seats into both halves at once, adding long-grain surface to a joint whose own faces meet mostly end grain to end grain.
Frequently asked questions
Is a mitre joint the same as a miter joint?
Yes. Mitre is the British spelling and miter the American one, and both name the same corner cut at half the included angle. Neither spelling changes anything about how the joint is laid out or how it behaves once glued.
Why does a mitre open up at one edge?
Because the two ends are cut from one shared setting, an error on either end shows as a wedge-shaped gap rather than a uniform offset. A half-degree left on one saw pass opens roughly twice that at the far edge of the joint, which is why the setting is checked once and trusted rather than nudged between cuts.
Should a mitre be reinforced?
For anything beyond light trim, yes. The glue line meets mostly end grain, which does not hold as well as long grain on long grain, so a spline, a key or a mechanical fastener is what actually carries the joint once it is loaded rather than just held together while the glue cures.
Does the angle have to be exactly 45 degrees?
Only for a square corner. The angle is always half whatever the finished corner needs to be, so a hexagonal frame is cut at a different setting than a rectangular one, and the two ends of every piece always share that one number.
Sources and revision history
- Fairham, Woodwork Joints (The Woodworker Series, revised edition), the mitred joint chapter (public domain)
- Wikipedia: Miter joint (terminology and variants)
Revision history
- Published
- Last updated
Related joints
All wood joints
Every joint on the site, live and planned, grouped by how the pieces meet.
Splined miter joint
Slotting a finished miter and setting a thin spline across the line adds long-grain gluing surface.
Butt joint
Two square-cut ends meet with nothing but glue or a fastener holding the line together.
Dovetail joint
Wedge-shaped tails drop between pins so the corner locks mechanically along one axis, not by glue alone.
Box joint
Square fingers alternate across the corner, every one cut to the same width.