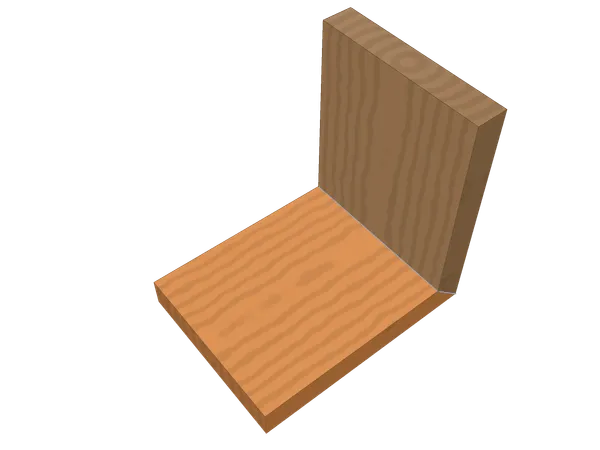
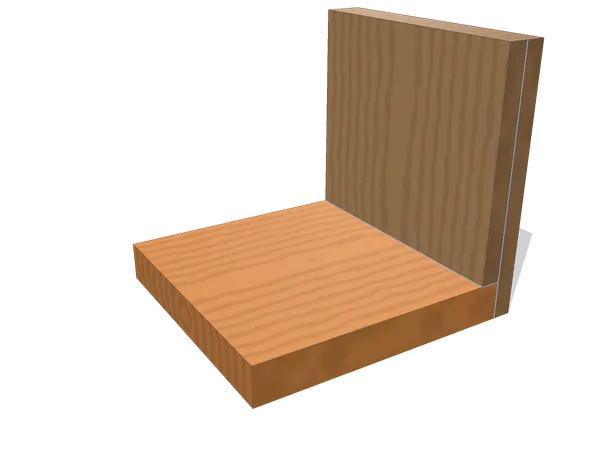
Butt joint
End-to-end · Visible · Hand or power · Difficulty 1/5
A butt joint (a butted joint) brings two square-cut ends together in line and holds them with glue, a fastener or a plate. Nothing interlocks and nothing is removed to form the joint, so all of its behaviour comes from how square the ends are cut and what reinforces them.
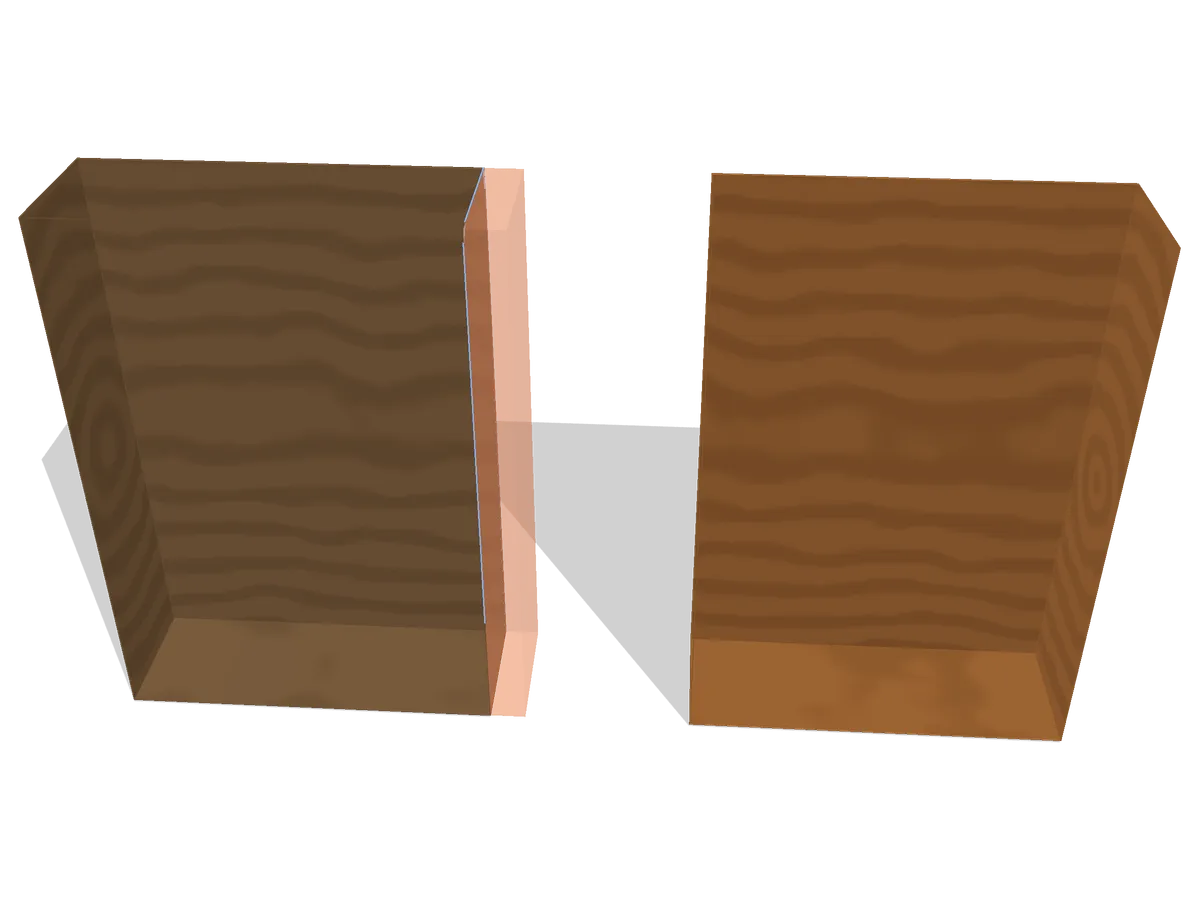
The 3D viewer stopped.
Mark out (1 of 4)
- Also called
- butted joint, plain butt joint
- Family
- End-to-end · fastened
- Joins
- two pieces end to end
- Typical use
- carcase framing and rough carpentry; temporary and knock-down assemblies; work that will be reinforced with dowels, plates or fasteners
- Holds against
- Shear (qualitative)
- Difficulty
- 1/5
- Tools
- try square, marking knife, crosscut or tenon saw, shooting board, clamps
On this page
How the parts fit
Nothing on either board changes shape to make this line close; the two ends simply arrive at the same plane and stop.
A butt joint is the plainest relationship two pieces of wood can have: one square-cut end meets another, in line, and everything the joint will ever do depends on how true those two surfaces are. No shoulder locates one board against the other, no cheek keeps them from sliding, and no waste is taken out to make room for anything. The 22 mm7/8 in stock this route models simply presents its full 90 mm3 9/16 in width to the mating end.
Because there is no shape to the joint, its whole bearing area is that single end-grain face: the entire contact is end grain on end grain, which is the pairing glue holds worst of all. Whatever keeps the line closed once the clamps come off has to be added: a fastener driven across it, a dowel or two set into matching bores, a plate screwed behind it, or a block glued into the inside corner. The wood itself contributes only its squareness.
A square error shows immediately at test-fit as a wedge of daylight at one edge, because there is no other feature to absorb it. That sensitivity is also the joint’s honesty: nothing here can look right and be wrong underneath, the way a housed joint’s floor can hide a rocking fit.
When to use a butt joint (and when not to)
A butt joint is the right call where speed matters more than resistance to being pulled apart: rough carpentry framing, shop fixtures, temporary jigs, and any assembly meant to come apart again later. It is also the default first step inside many multi-part joints on this site: a mortise and tenon or a dowelled frame both start from two square-cut faces before anything else is marked.
Nothing behind the line resists a straight pull apart, and that is exactly the axis a butt joint cannot help on its own. Skip it too on a face where end grain finishing differently from the surrounding wood would show, and on any assembly that has to survive on glue alone: a butt joint asks glue to do a job it does poorly and nothing else picks up the slack.
Layout and cutting, step by step
A single knifed line does all the work here, because it is the only mark this joint ever gets.
- Set a try square against the face and edge of the board and knife one line square across the end, at the length the piece needs to finish.
- Carry the line around all four faces if the cut will be made by hand, so the saw has a mark to aim for on every surface it crosses.
- Saw just to the waste side of the line, leaving a shaving to clean up rather than trying to hit the line with the saw itself.
- True the sawn end with a shooting board and a plane, or a disc sander set square, checking with the try square in both directions as you go.
- Bring the two ends together dry and sight them against a light source before committing to glue or fasteners.
- Glue the faces, or bore for dowels, or set the fastener that will actually carry the joint, according to what the assembly calls for.
- Clamp across the line, not along it, so the pressure closes the joint rather than sliding the pieces past each other.
Common mistakes
Hold the two ends up to a light rather than trusting them by eye: a gap that would hide under a fingertip shows instantly against a window.
The single most common fault is an end cut a fraction off the try square, which opens the line at one edge no matter how carefully everything after it is done. Reading the fit by eye alone rather than against a light source is what lets that error through, since the human eye is a poor judge of a wedge only a degree or two wide.
Clamping along the joint instead of across it is the next trap: pressure that runs parallel to the line does nothing to close a gap and can instead skid the two faces out of alignment. And treating glue as sufficient on its own, with no fastener or reinforcement behind it, produces a joint that looks sound at the bench and fails the first time it is really loaded, because end grain never gave the glue much to hold onto in the first place.
Butt joint vs miter, rabbet and dowel joints
Use a butt joint when speed matters more than resisting a pull apart, with the end grain left in view; a miter, rabbet or dowel joint is what a hidden edge or a registered, aligned corner calls for instead.
A miter joint also joins two ends with nothing interlocking, but it bevels both faces to hide the end grain and meet on a shared plane, trading a harder layout for a corner with no end grain showing on the outside. A butt joint accepts the exposed end grain instead, in return for the simplest possible cut.
A rabbet takes a step out of one board so the mating piece has a floor and a shoulder to register against, giving up nothing in cutting speed on the rabbeted board’s own end but adding real layout work to get the step right. A butt joint has no step to cut at all, at the cost of that registration.
A dowel joint starts from the same two square ends a butt joint uses, then adds bored holes and pins that carry the alignment a butt joint leaves to chance. It is the natural upgrade when a butt joint’s own honesty about its limits (no interlock, no registration) becomes a problem worth solving.
Variants
End-to-end butt. Two boards meet along their own length axis, the configuration this route models: both ends square-cut, brought together in line.
T-butt. One board’s end meets the face of another rather than another end, forming a T rather than a straight line: the case this site’s half-lap page points at when it calls a plain corner “a butt joint” without naming the configuration.
Edge-to-edge butt. Two boards meet along a long edge rather than at an end, the simplest way to widen a panel before reaching for an edge joint that keeps the faces aligned on its own, such as a tongue and groove.
Frequently asked questions
Is a butted joint the same as a butt joint?
"Butted joint" and "plain butt joint" are the same construction under different names: two square-cut ends brought together in line, with nothing shaped to register them beyond squareness itself. The Variants section below names the T-butt and edge-to-edge cases that share the family.
Why does glue hold end grain poorly?
End grain is a field of open tube ends rather than a flat surface, so glue soaks straight into the pores instead of forming a film between the two faces, and the bond starves for adhesive exactly where it needs the most. A long-grain surface holds the glue where it can do its work instead.
What is a T-butt?
A T-butt brings the end of one piece against the face of another rather than end to end: a configuration this route also models, alongside the end-to-end and edge-to-edge cases in the Variants section below. It is the same relationship the half-lap page names in its own comparison section.
Does a butt joint need a fastener?
Not always, but most work benefits from one. Glue alone leans on end grain, a poor bond, so a screw, a dowel, a biscuit or a glue block behind the joint is usually what keeps the line closed once the assembly is handled or loaded.
Sources and revision history
- Wikipedia: Butt joint (configurations and reinforcement)
- Noyes, Handwork in Wood (1910), the butt joints section, No. 11 "A plain butt-joint" — public domain
- Fairham, Woodwork Joints (The Woodworker Series, revised edition), the glued joint chapter — public domain
Revision history
- Published
- Last updated
Related joints
All wood joints
Every joint on the site, live and planned, grouped by how the pieces meet.
Miter joint
Two ends cut at half the corner angle meet with no end grain showing outside.
Rabbet joint
Along one edge runs a square step; the mating board sits into it and the corner registers.