Pocket-hole joint
T-intersection · Hidden · Power · Difficulty 1/5
A pocket-hole joint bores a stepped hole at a shallow angle through one piece and drives a self-tapping screw through it into the next. The wood is left square and uncut apart from the pocket itself, so the fastener does the holding and a plain butted face does the locating.
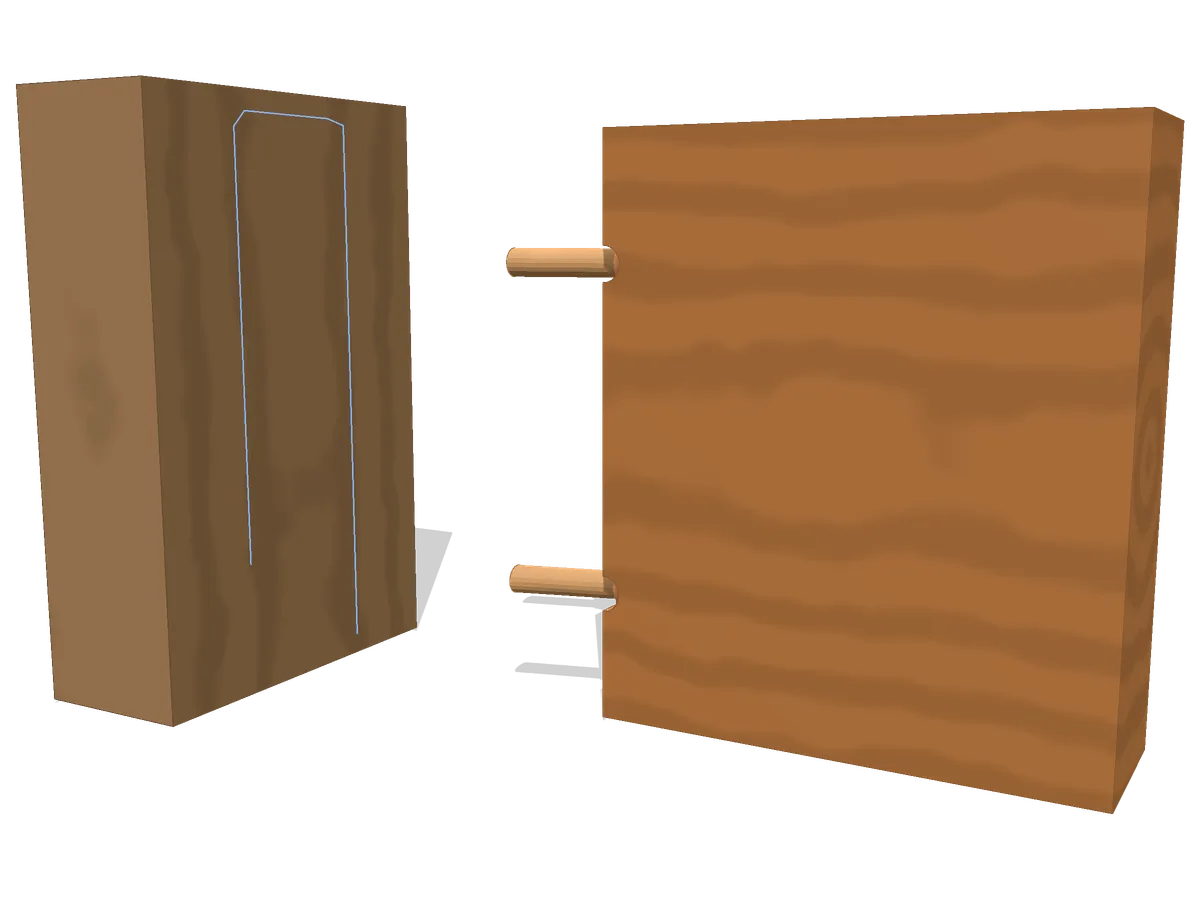
The 3D viewer stopped.
Mark out (1 of 4)
- Also called
- pocket-screw joint, pocket screw joinery
- Family
- T-intersection · fastened
- Joins
- the end of one piece into the face or edge of another
- Typical use
- face frames for cabinets; shop furniture and jigs; rails into legs on light frames
- Holds against
- Shear (qualitative)
- Difficulty
- 1/5
- Tools
- pocket-hole jig, stepped pocket-hole bit, drill or driver, clamp, square
On this page
How the parts fit
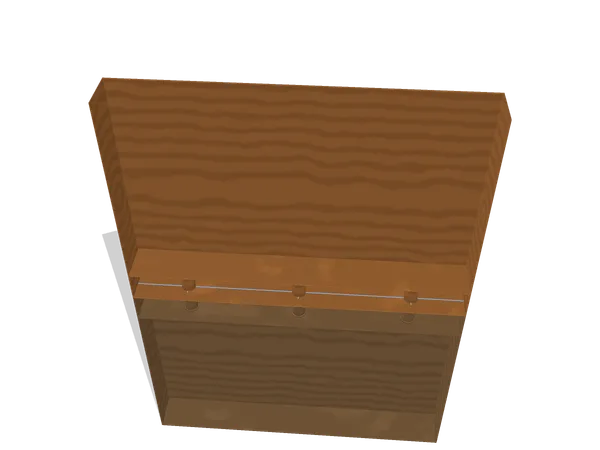
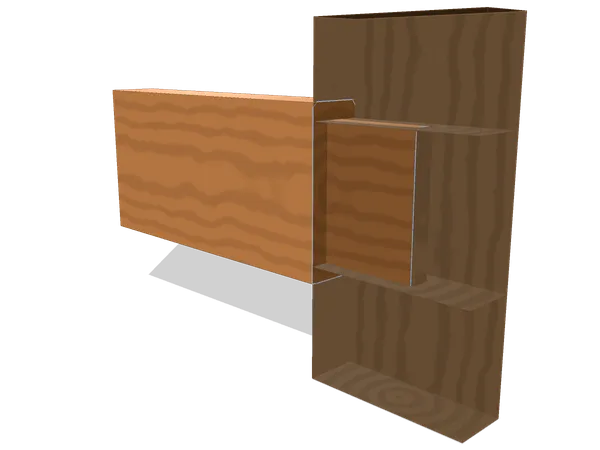
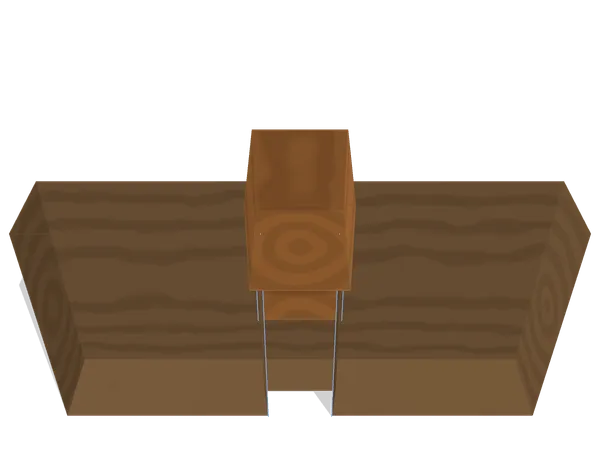
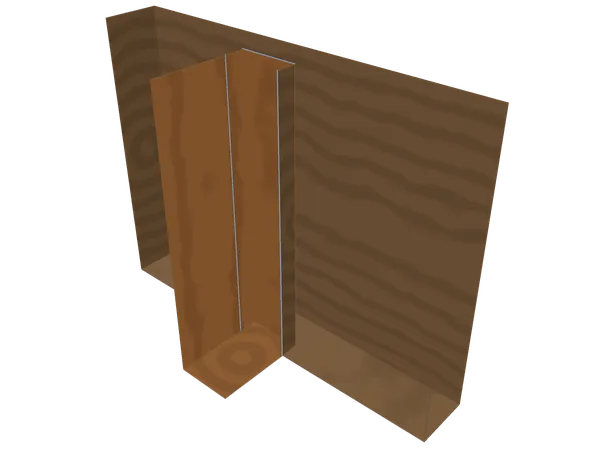
Driven home, each screw crosses the joint at its own shallow angle and pulls the rail’s own end tight against the stile. Take the fasteners back out and the two pieces separate cleanly, because the wood itself never interlocked at all.
A pocket-hole joint skips cutting a mating shape entirely and drives a screw in on the diagonal instead. A stepped bore runs through the rail at a shallow angle (15° from the rail’s own length, at this route’s default setting), starting as a wide, flat-bottomed counterbore for the screw’s own head and continuing on as a narrower pilot hole that breaks out near the rail’s end. The screw follows that same diagonal into the stile’s own face grain.
Every other joint on this site removes material to make two pieces share a shape; this one removes almost nothing. The rail stays square and uncut apart from the pocket itself, the stile is untouched, and the whole relationship between the two pieces is a plain butted face held shut by a fastener rather than by any wood-on-wood registration.
When to use a pocket-hole joint (and when not to)
Pocket screws suit fast assembly where speed and simplicity matter more than a joint that could stand on its own without the fastener: face frames, shop jigs and fixtures, and rails meeting legs on light furniture that will not see hard racking loads. A single jig setting repeats across a whole project, which is what makes the method as quick as it is once the first hole is cut.
The counterbore is the pocket screw’s first limit: it stays a visible feature on any surface meant to be seen, unless it is plugged or hidden against an inside face. Furniture that will be knocked down and reassembled many times is another poor fit, because repeatedly driving and removing a self-tapping screw wears the thread it cut on the first pass. And a joint that lands in weak end grain (a thin rail, or stock prone to splitting along the pocket’s own diagonal) will not hold a screw as reliably as face grain does.
Layout and cutting, step by step
There is almost nothing to mark here. A jig fixes where each pocket starts, how steeply it runs and how deep it goes, so the only line drawn by hand is the one across the stile’s own face, squared in from its edges, that says where the rail’s end will land.
- Set the jig’s own depth stop to the rail’s actual thickness, since a pocket bored for the wrong stock either breaks out early or falls short of the joint line.
- Clamp the rail into the jig with its back face against the fence, and bore each pocket with the stepped bit run all the way to the stop.
- Square a single line across the stile’s own face, marking exactly where the rail’s end will sit once the two are brought together.
- Clamp the rail to the stile at that line, holding the rail’s own end tight against the face and square to it.
- Drive a self-tapping pocket screw through each bore, watching that the rail does not creep sideways along the face as the screw draws it in.
- Check the joint is still square once every screw is driven, and add glue along the butted face beforehand wherever the assembly needs it to also resist creeping later.
Common mistakes
The rail is held square against the stile’s own face with nothing to interlock the two. Every bit of the fit lives in that one butted plane: any gap there is a gap in the finished joint, and once a screw starts to draw the parts together it will also try to walk the rail sideways along the face, the movement a clamp has to stop.
The most common fault is letting the rail shift as the first screw is driven, since the diagonal pull has a sideways component and nothing about the geometry resists it on its own; a clamp held firmly through the whole driving sequence is what keeps the joint square. Boring the pocket too deep for the stock lets the bit break out through the wrong face before it ever reaches the intended depth, and too shallow leaves the screw short of the stile altogether. Skipping a dry clamp-up before driving is a third trap: any gap at the butted face only shows once the screws are in, and pulling them back out to correct it wears the thread they already cut.
Pocket-hole joint vs dowel, mortise-and-tenon and butt joints
Reach for pocket screws when speed matters more than a joint that stands on its own; a dowel, mortise and tenon or butt joint suits work needing no permanent fastener, a shoulder against racking, or just a squared, reinforced face.
A dowel joint also asks for accurately bored holes, but the pins register two mating edges against each other with no fastener left in the finished piece; a pocket-hole joint keeps the screw permanently in place and depends on it for every bit of the holding.
A mortise and tenon carries real shoulder and cheek area that locks a frame against racking on its own; a pocket-hole joint gives up that mechanical lock entirely in exchange for a fraction of the setup time, which is a fair trade wherever the load stays light.
Underneath the screws, the two pieces still meet at the same plain butted face a butt joint describes: the pocket and its fastener are simply one of the ways that face can be reinforced, alongside dowels, plates or glue alone.
Variants
Plugged pockets. A short dowel of matching wood glued into the counterbore hides the screw entirely, at the cost of one extra step and a visible plug grain where the pocket used to show.
Face-frame pockets. The same joint used specifically to join stiles and rails into a cabinet’s own face frame, usually bored from the back so no pocket ever reaches a visible surface.
Machine-bored low-angle pockets. A bench-mounted machine bores at the shallow end of the range rather than the steep setting a hand jig favours, trading a longer pocket for a screw that enters the mating piece closer to its own centre.
Frequently asked questions
What angle is a pocket hole bored at?
Hand-held jigs typically bore at a steep-ish setting near 15 degrees; bench-mounted machines can run as shallow as 3 degrees over a longer pocket. The steeper the angle, the sooner the screw reaches the mating piece for a given rail thickness.
Why does the rail shift as the screw goes in?
Because nothing about the joint interlocks. The screw is drawing the rail’s own end face tight against the stile along a shallow diagonal, and that same diagonal pull has a sideways component that tries to walk the rail along the face unless it is clamped.
Do pocket-hole joints need glue?
Not structurally: the screw alone is usually enough to hold light work, but a run of glue along the butted face adds a second, independent source of holding and cures the rail’s own tendency to creep while the screw is driven.
Can the pockets be hidden?
Yes, with a glued plug cut to match the counterbore, or simply by orienting the joint so the pocket faces an inside surface that will never be seen once the piece is assembled.
Is a pocket-hole joint the same as a pocket-screw joint?
“Pocket-hole” and “pocket-screw” both name the same technique; the first describes the bore, the second the fastener that goes into it, and both terms turn up in the same sources without any real difference between them.
Sources and revision history
- Wikipedia: Pocket-hole joinery (technique, angles and jigs)
- Wikipedia: Butt joint (the butt joint reinforced with pocket-hole screws)
- Kreg Tool: How Pocket Holes Work, A Visual Guide
Revision history
- Published
- Last updated
- : Added a trade source for the layout conventions.
Related joints
All wood joints
Every joint on the site, live and planned, grouped by how the pieces meet.
Dowel joint
Round pins in matched bored holes register two boards and carry the glue line between them.
Mortise and tenon joint
The tenon enters a cut pocket; its shoulders land on the face and fix the angle.
Sliding dovetail joint
Tapered tail, matching housing: a shelf goes in from one end and slides home along it.
Dado joint
A flat-bottomed trench across the grain houses the end of a shelf on three sides.