Tongue and groove joint
Edge · Visible · Hand or power · Difficulty 2/5
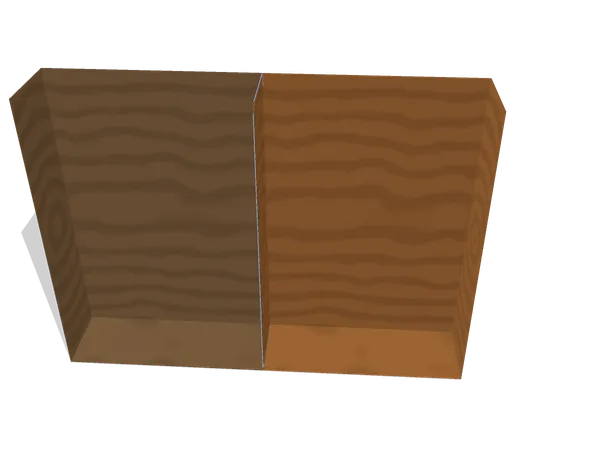
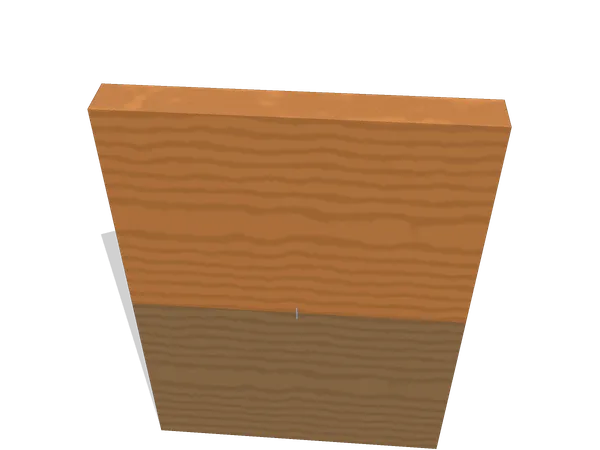
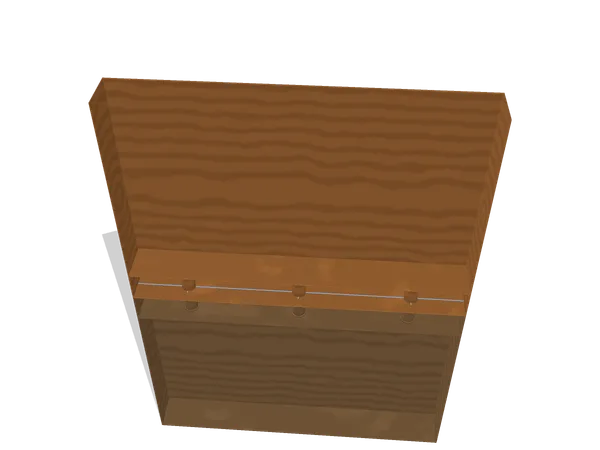
A tongue and groove joint (matched boarding) leaves a centred tongue along one board's edge and a matching channel along the next, so the boards engage along their whole length. The joint keeps the faces level and closes the line while still letting each board move across its width.
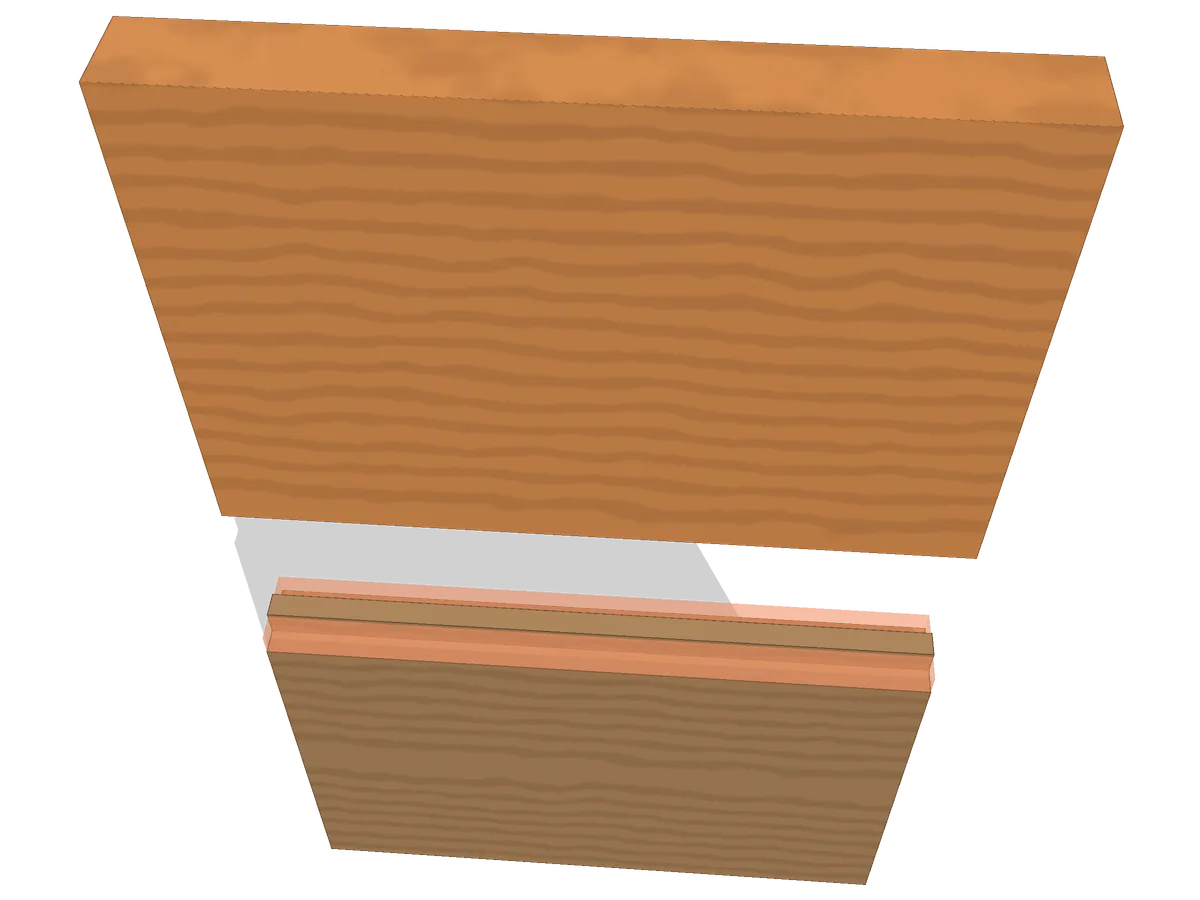
The 3D viewer stopped.
Mark out (1 of 4)
- Also called
- matched boarding, T&G
- Family
- Edge · edge
- Joins
- two boards edge to edge
- Typical use
- panelling and boarded doors; floorboards and sheathing; boarded backs and bottoms in casework
- Holds against
- Shear (qualitative)
- Difficulty
- 2/5
- Tools
- marking gauge, plough plane, tonguing plane or matched pair, block plane
On this page
How the parts fit
With the faces flush, only one thing about this joint still shows: a hairline gap at the bottom of the channel, proof the tongue never touched bottom.
A centred tongue on one board’s edge and a matching channel on the next let the pair engage along their whole shared length: the one route on this site built around an edge rather than an end, a corner or a crossing. The tongue, 6 mm1/4 in thick at the default setting, sits inside the channel cut into the next board’s edge.
Both boards run the same way, grain along the length in both pieces, which is what an edge joint actually is, as against a joint that crosses one board’s grain against another’s. The tongue and the groove share one setting from one gauge, so a piece that starts a shade thick or thin still fits its neighbour: the error travels with the boards rather than working against them.
The groove is cut deeper than the tongue is long, by 0.6 mmunder 1/16 in at the default clearance, so the tongue never reaches the floor of the channel it sits in. That gap is not a fault; it is room for the boards to swell across their width without the tongue jamming and forcing the faces apart. The joint’s whole job is to keep two faces level and close the line between them, not to lock the boards rigidly to one another.
When to use a tongue and groove joint (and when not to)
Anywhere a run of boards needs to present one continuous surface while each board stays free to move, a tongue and groove answers: panelling, boarded doors, floorboards, and backs or bottoms let into a carcase. The tongue does the work of keeping every pair of edges level with its neighbour, which a plain edge-to-edge butt cannot promise on its own.
When a panel must end up perfectly rigid, glued into one stiff sheet, this joint is not the fix, since gluing across the width defeats the clearance it is built around. Skip it too on stock too thin to leave a real shoulder either side of the tongue, and on work where the joint line itself must disappear rather than read as a series of boards; a single glued-up panel serves that case better.
Layout and cutting, step by step
Run a gauge twice from one setting and both features are marked at once: the tongue’s shoulders on one board’s edge, the groove’s own walls on the next.
- Set a marking gauge to the tongue’s thickness, centred in the stock, and run it along the edge of the board that will carry the tongue, marking both shoulder lines from the face side.
- Without changing the setting, run the same gauge along the edge of the board that will carry the groove, so the two features start from one shared reference.
- Work the tongue with a plough plane or a tonguing plane, taking the waste off both faces of the edge down to the shoulder lines.
- Cut the groove with a plough plane set to the tongue’s own thickness, sinking it a shade deeper than the tongue is long so clearance is built in rather than added afterward.
- Test the fit dry: the tongue should slide home with hand pressure and stop short of the groove’s floor, never bottoming out.
- Where the boards are pinned rather than glued, drive one fastener through the tongue near the centre of the run so the board can still move on either side of it.
Common mistakes
Bring the two edges together and watch the joint line, not the faces: a tongue cut fat binds before the faces ever meet, and a groove cut shallow lets them rock apart.
Cutting the groove to the tongue’s own length rather than deeper than it is the single most common fault, because the mistake hides completely until the boards move and the faces step apart along the line. Build the clearance in at the plough plane rather than trying to add it after the fact.
Gauging the two boards from different settings is the next trap: a tongue and a groove marked to two separate numbers may each look fine on its own board and still refuse to seat cleanly together. And gluing the joint across its whole width, rather than leaving it dry or pinned, defeats the reason the joint exists in the first place: the boards can no longer move, and the panel eventually splits somewhere the joint itself never gave it room to.
Tongue and groove joint vs butt, biscuit and rabbet joints
Use a tongue and groove when a run of boards must stay flush at the face while each board still moves; a butt, biscuit or rabbet joint suits an edge that will be glued rigid, held with a hidden loose part, or stepped instead.
A butt joint brings two edges together with nothing shaped into either one, leaning entirely on glue or fasteners to keep the line closed and level. A tongue and groove trades that simplicity for a feature that keeps the faces flush on its own and, unlike a glued butt edge, tolerates the boards moving afterward.
A biscuit joint registers two edges with a compressed oval let into a matching slot in each board, closer in spirit to this joint than a butt is, but the biscuit disappears entirely inside the panel rather than running the boards’ whole length. A tongue and groove reads along the edge itself even before assembly, which is what lets a plane or a gauge check the fit at every point along the run.
A rabbet takes a step out of one board’s edge and lets the next sit into it, related in that both cuts run the board’s own length, but a rabbet’s step is asymmetric and offers no centring, where a tongue and groove’s centred tongue keeps both faces level by construction.
Variants
Beaded tongue and groove. A small quirk bead run along the tongued edge disguises any slight gap that opens as the boards move, the usual treatment for painted matchboarding.
Loose-tongue (splined) joint. Rather than cutting a tongue from one board’s own edge, a groove is ploughed into both edges and a separate strip of wood glued into one side, useful where the stock is too thin to leave a tongue standing on its own.
Shiplap. The boards overlap in a rabbeted step rather than interlocking with a tongue and a groove, trading the level faces this joint gives for a cladding profile that sheds water off an exterior wall.
Frequently asked questions
Should tongue and groove boards be glued?
Only along the length of the run, and often not at all. Glue across the width of the joint fights the very movement the tongue and groove is cut to allow, so boarding that has to move with the seasons is usually left dry or pinned rather than glued face to face.
Why leave a gap at the bottom of the groove?
The tongue is cut shorter than the groove is deep on purpose, so a board that swells across its width has somewhere to go before the tongue jams against the groove floor. Without that clearance the faces get pushed apart and a step opens along the line.
Is tongue and groove the same as matched boarding?
Yes. "Matched boarding" is the older trade name for boards prepared with a tongue on one edge and a groove on the other so any two boards from the run fit together, and "T&G" is the same joint under its common abbreviation.
How thick should the tongue be?
Around a third of the stock thickness is the usual setting, thick enough to carry real shear across the joint without leaving too little shoulder on either face. Cutting it much thicker starts to weaken the shoulders that hold it centred.
Sources and revision history
- Fairham, Woodwork Joints (The Woodworker Series, revised edition), the tongued and grooved joint chapter — public domain
- Wikipedia: Tongue and groove (terminology and variants)
Revision history
- Published
- Last updated
Related joints
All wood joints
Every joint on the site, live and planned, grouped by how the pieces meet.
Butt joint
Two square-cut ends meet with nothing but glue or a fastener holding the line together.
Biscuit joint
Compressed oval biscuits sit in crescent slots, swelling with glue to align two edges.
Dowel joint
Round pins in matched bored holes register two boards and carry the glue line between them.